

Choose an editing tool
Crop changes the visible area and lets you straighten or rotate an image.
Resize changes the image's pixel dimensions.
Sticker adds built-in DX1 Highlights artwork or an image from your device.
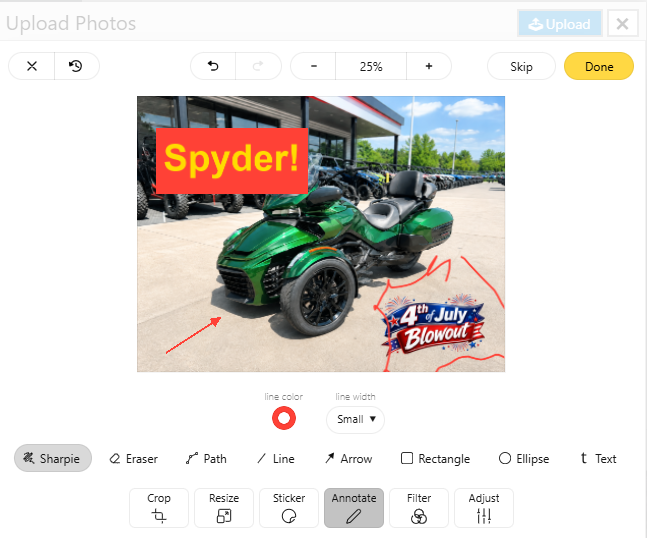
Annotate adds text, arrows, shapes, or drawing.
Filter applies a predefined visual style.
Adjust fine-tunes brightness, contrast, saturation, and similar settings.
Crop
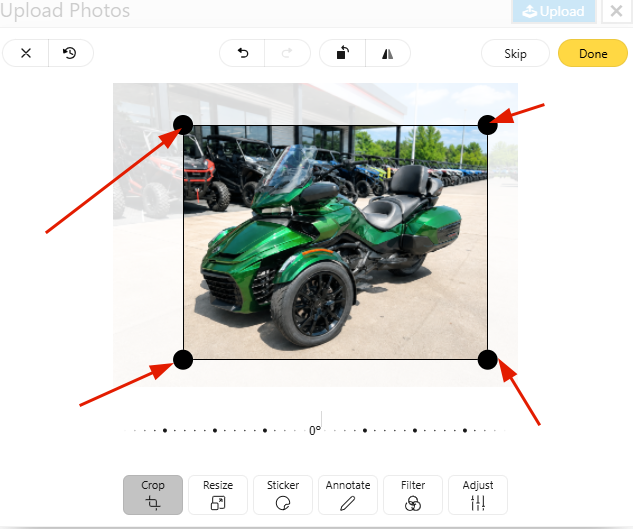
Use Crop to change which part of the image is visible, remove distractions, straighten a tilted photo, or create a consistent aspect ratio.
- Crop handles: Drag a corner or edge to define the visible area.
- Reposition: Drag the crop area to center the subject.
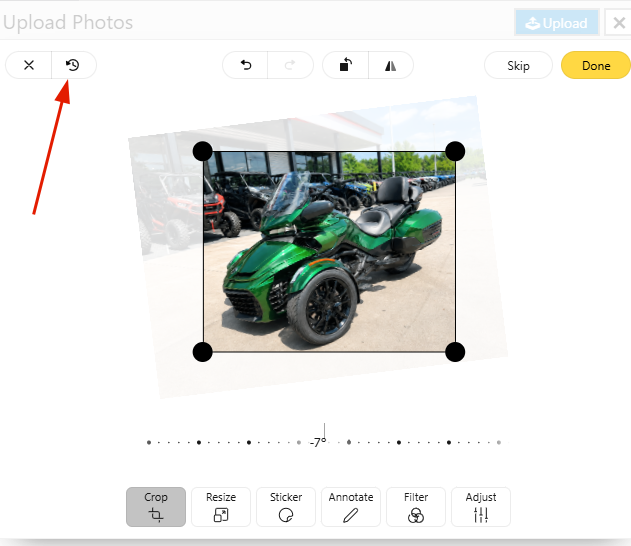
- Straighten or rotate: Correct the angle before applying the crop.
- Reset: Return to the original framing if needed.
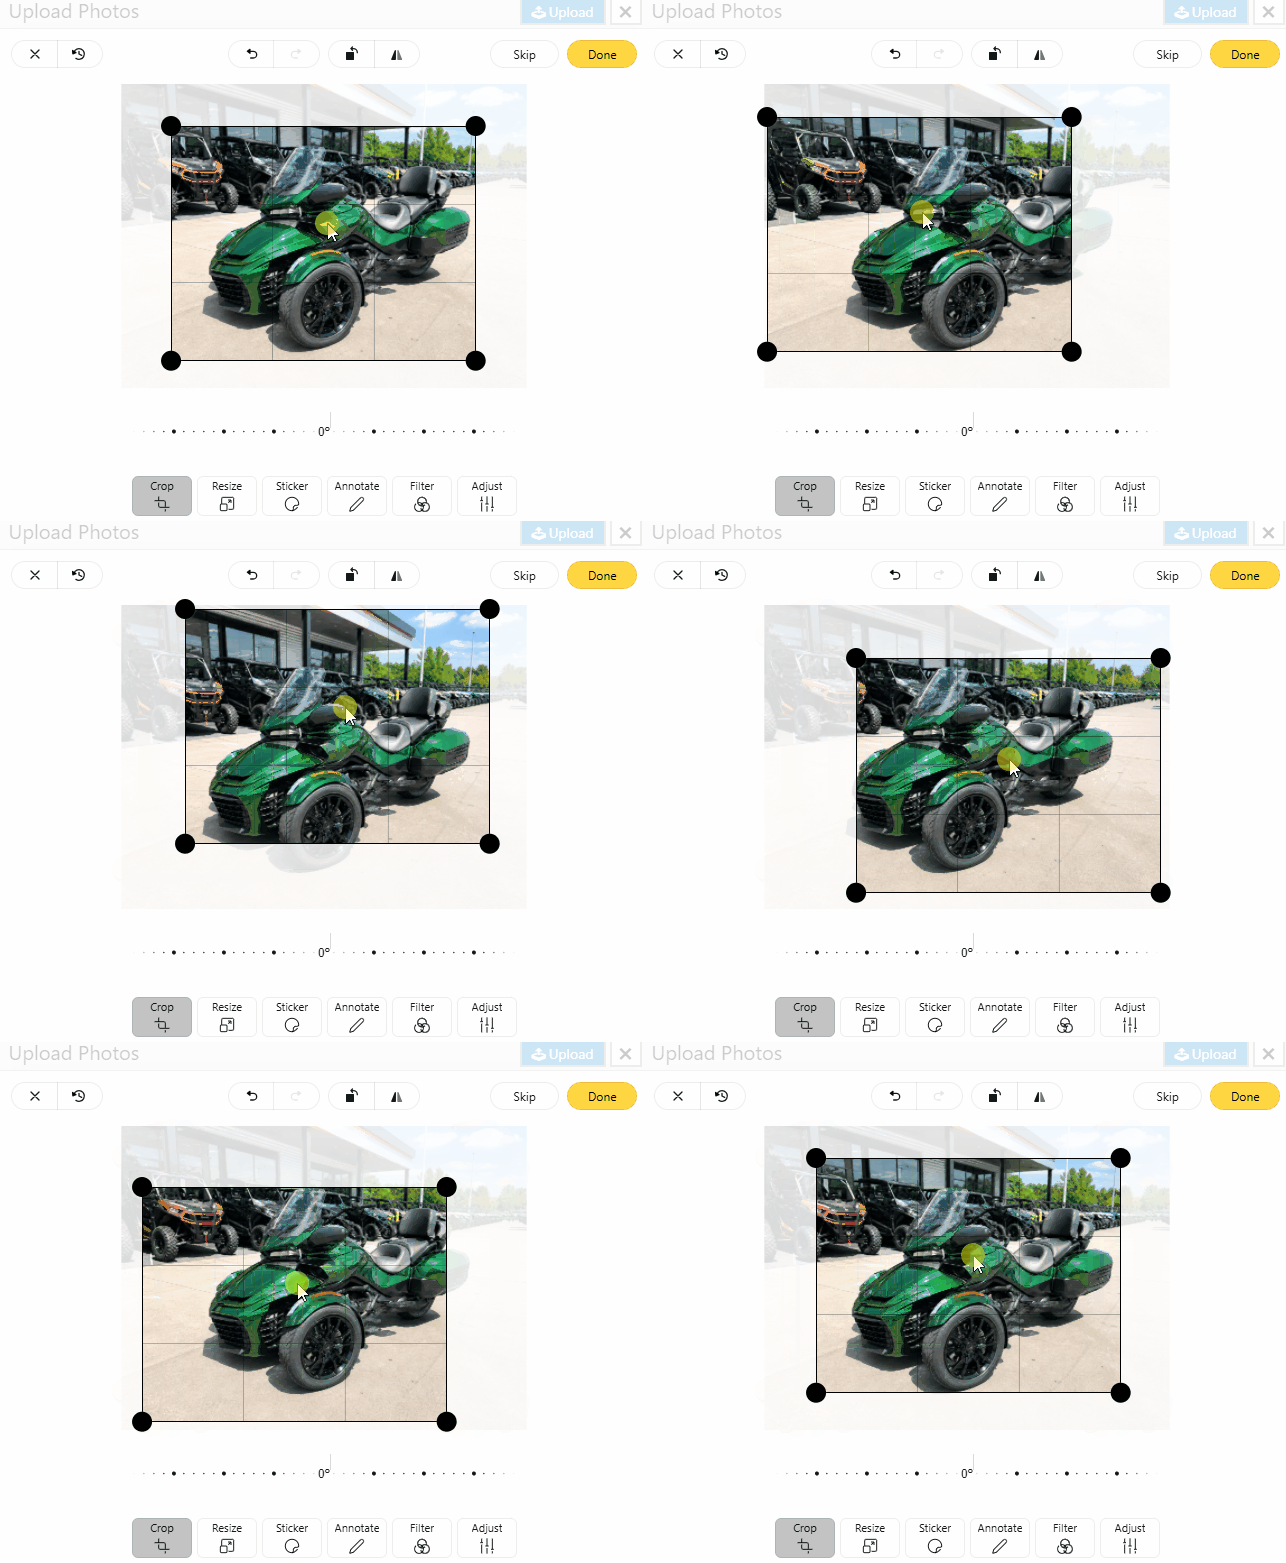
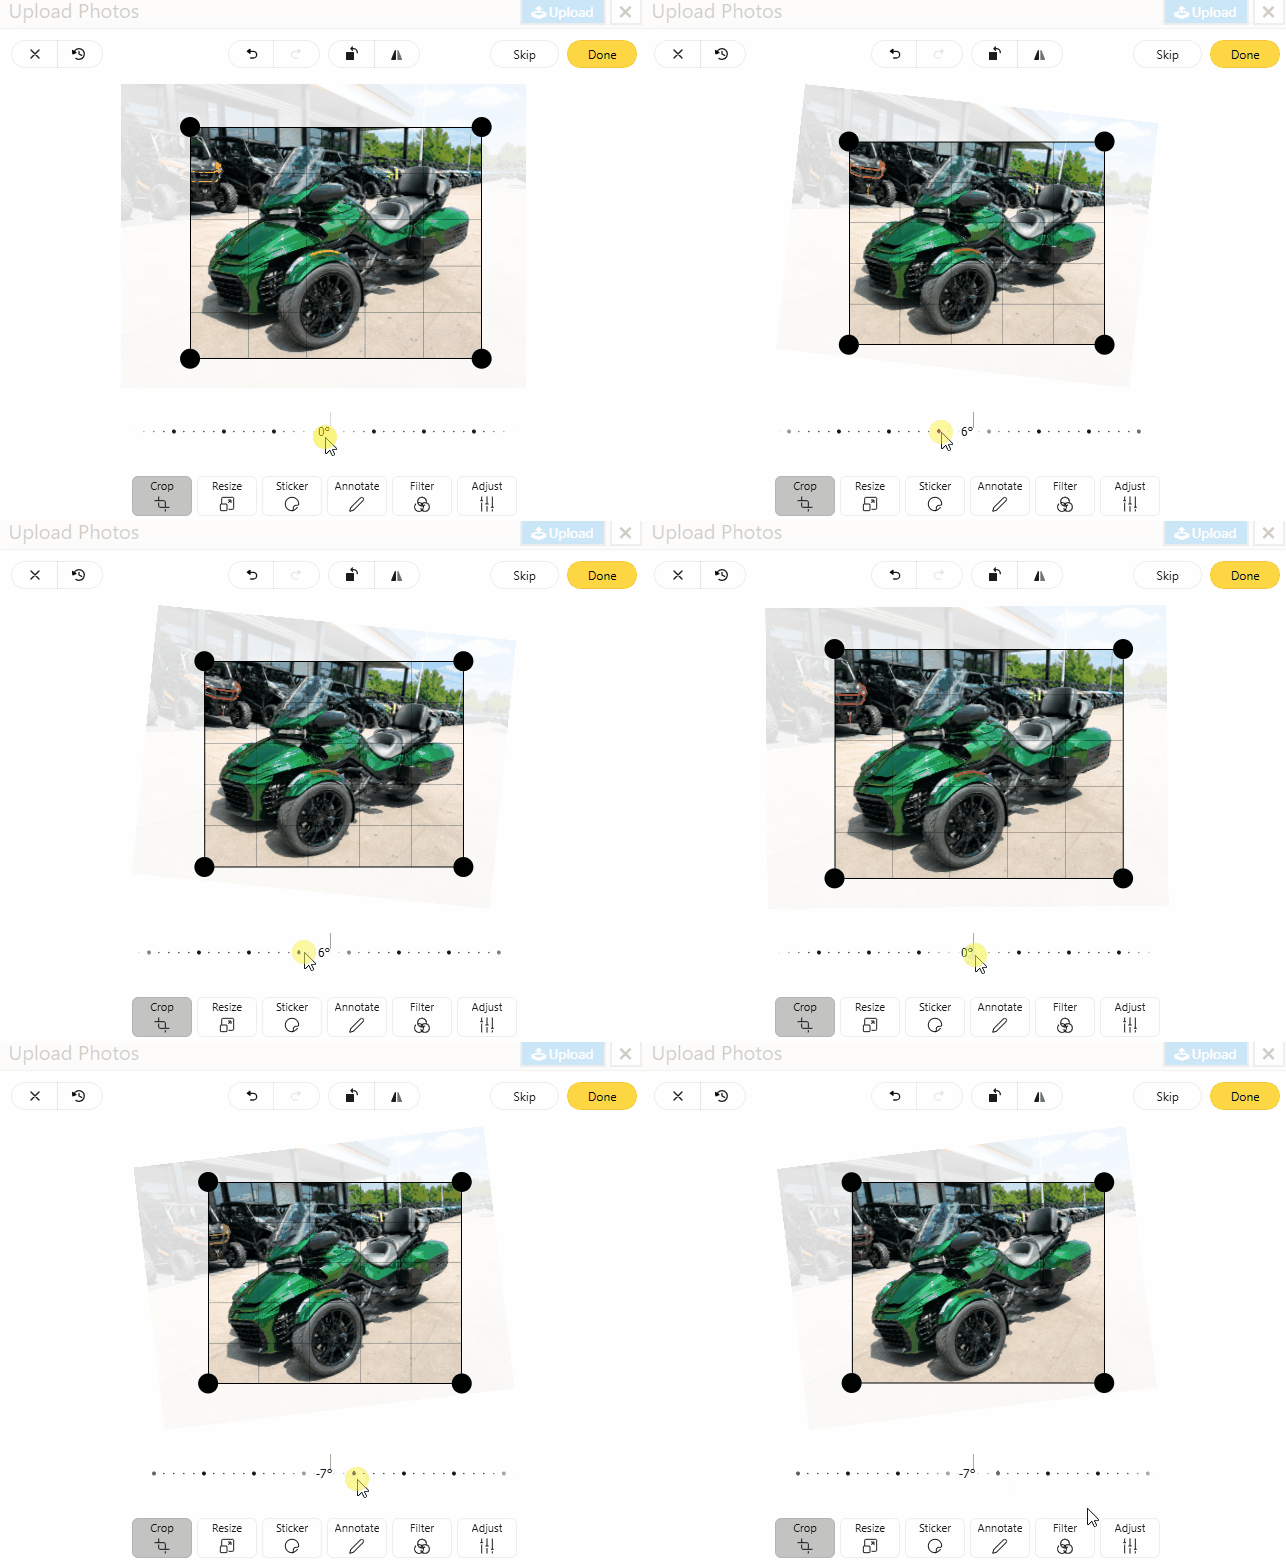
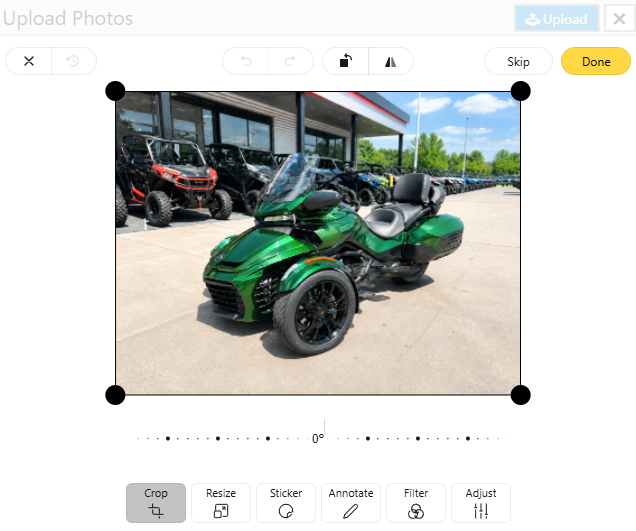
Tip: Avoid cutting through important vehicle details such as tires, mirrors, windshields, or seats unless you are intentionally creating a close-up.
Resize
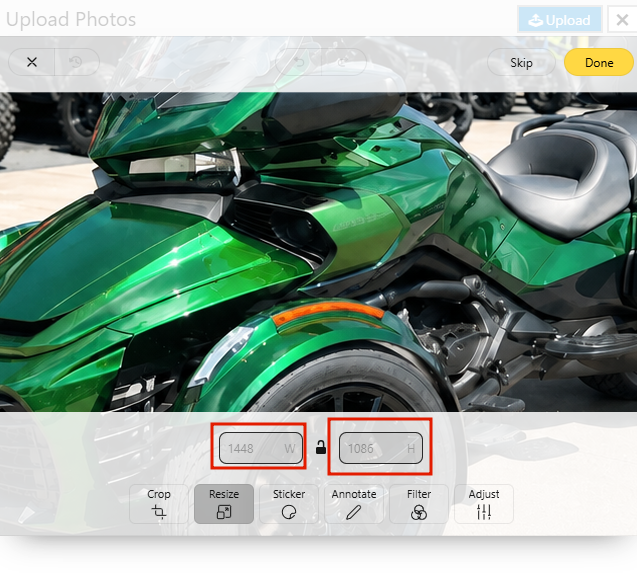
Use Resize to change the final width and height of an image in pixels. Crop the image first so the desired frame is already set.
- Width and height: Enter the desired pixel dimensions.
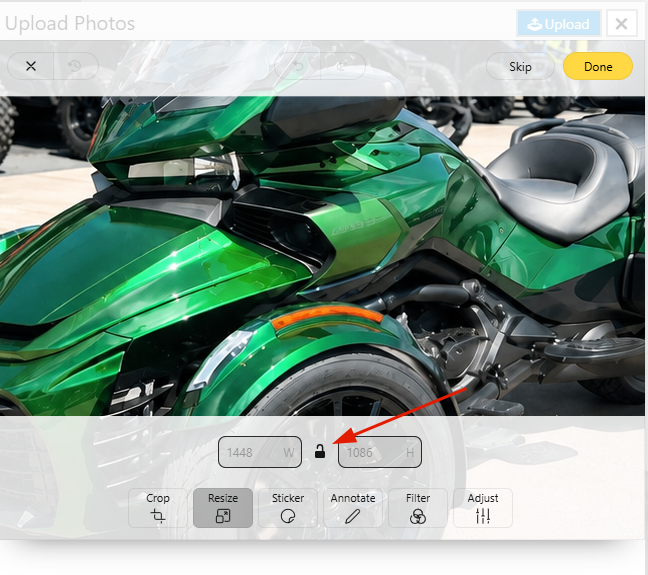
- Maintain aspect ratio: Keep the lock enabled to avoid stretching the image.
Tip: Avoid enlarging a small image excessively because the result can appear soft or pixelated.
Stickers and DX1 Highlights
Use Sticker to place artwork over a photo. Choose one of the built-in DX1 Highlights stickers or select an image from your device.
The built-in collection includes artwork for common selling points such as Brand New, Certified Pre-Owned, Clearance, Low Miles, Price Reduced, and Sold.
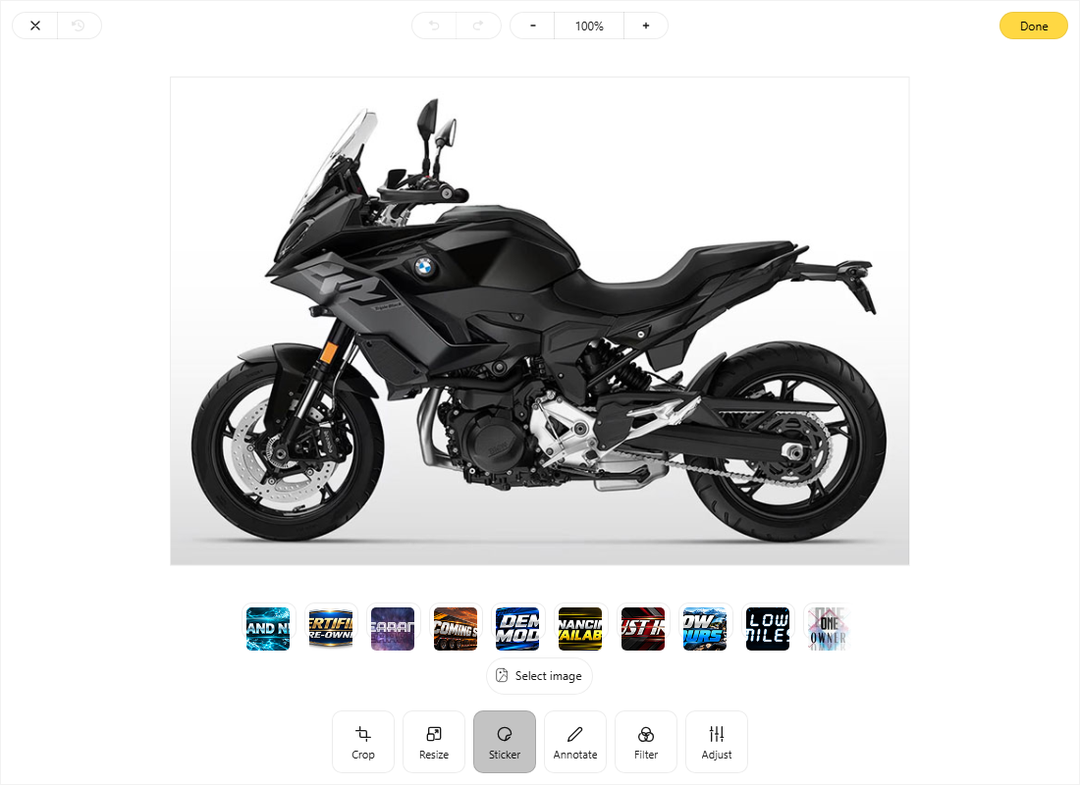
- Select the desired sticker.
- Drag it to the desired position.
- Use the handles to resize or rotate it.
- Use the controls above the sticker to flip, duplicate, or remove it.
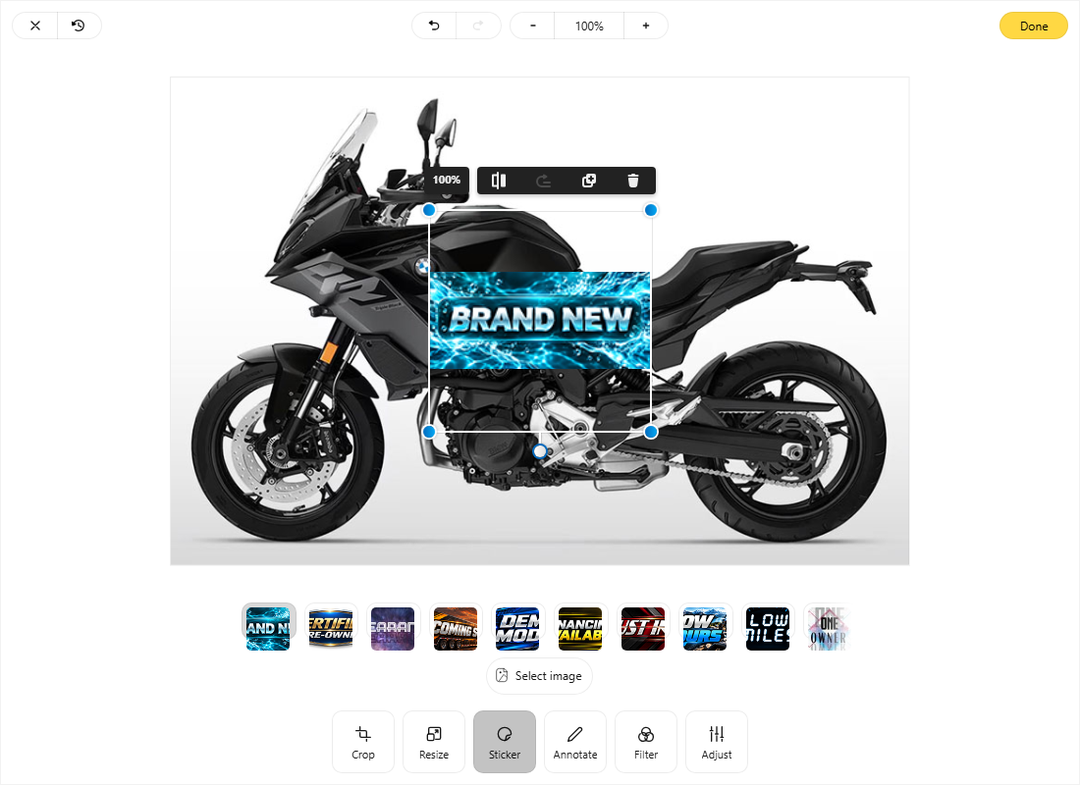
Tip: Keep stickers away from important vehicle details and use a consistent position across inventory photos.
Annotate
Use Annotate to add text, arrows, lines, rectangles, ellipses, freehand drawing, or other markup.
- Choose a tool that clearly identifies the detail you want viewers to notice.
- Use a contrasting color so the annotation remains readable.
- Keep the number of annotations low so the image does not become cluttered.
Filter
Use Filter to apply a predefined visual style to the entire image.
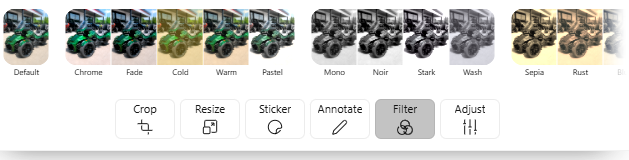
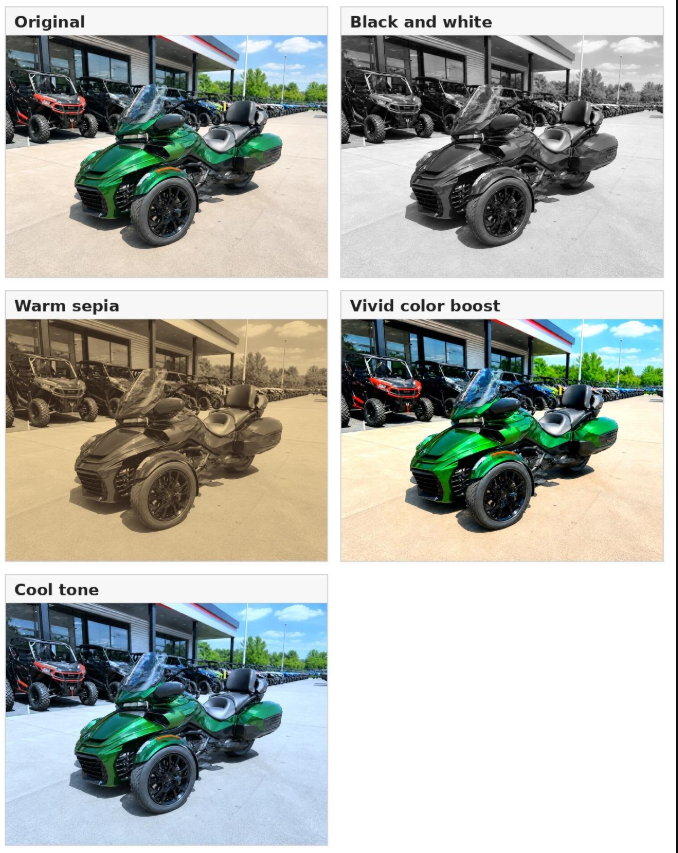
Tip: For inventory photos, prioritize accurate vehicle color over dramatic styling and avoid mixing many filter styles in the same gallery.
Adjust
Use Adjust to fine-tune settings such as brightness, contrast, saturation, sharpness, and temperature.
- Start with small changes and compare the result with the original.
- Correct brightness first, followed by contrast, color, and sharpness.
- Use Reset if the adjustments become too strong.
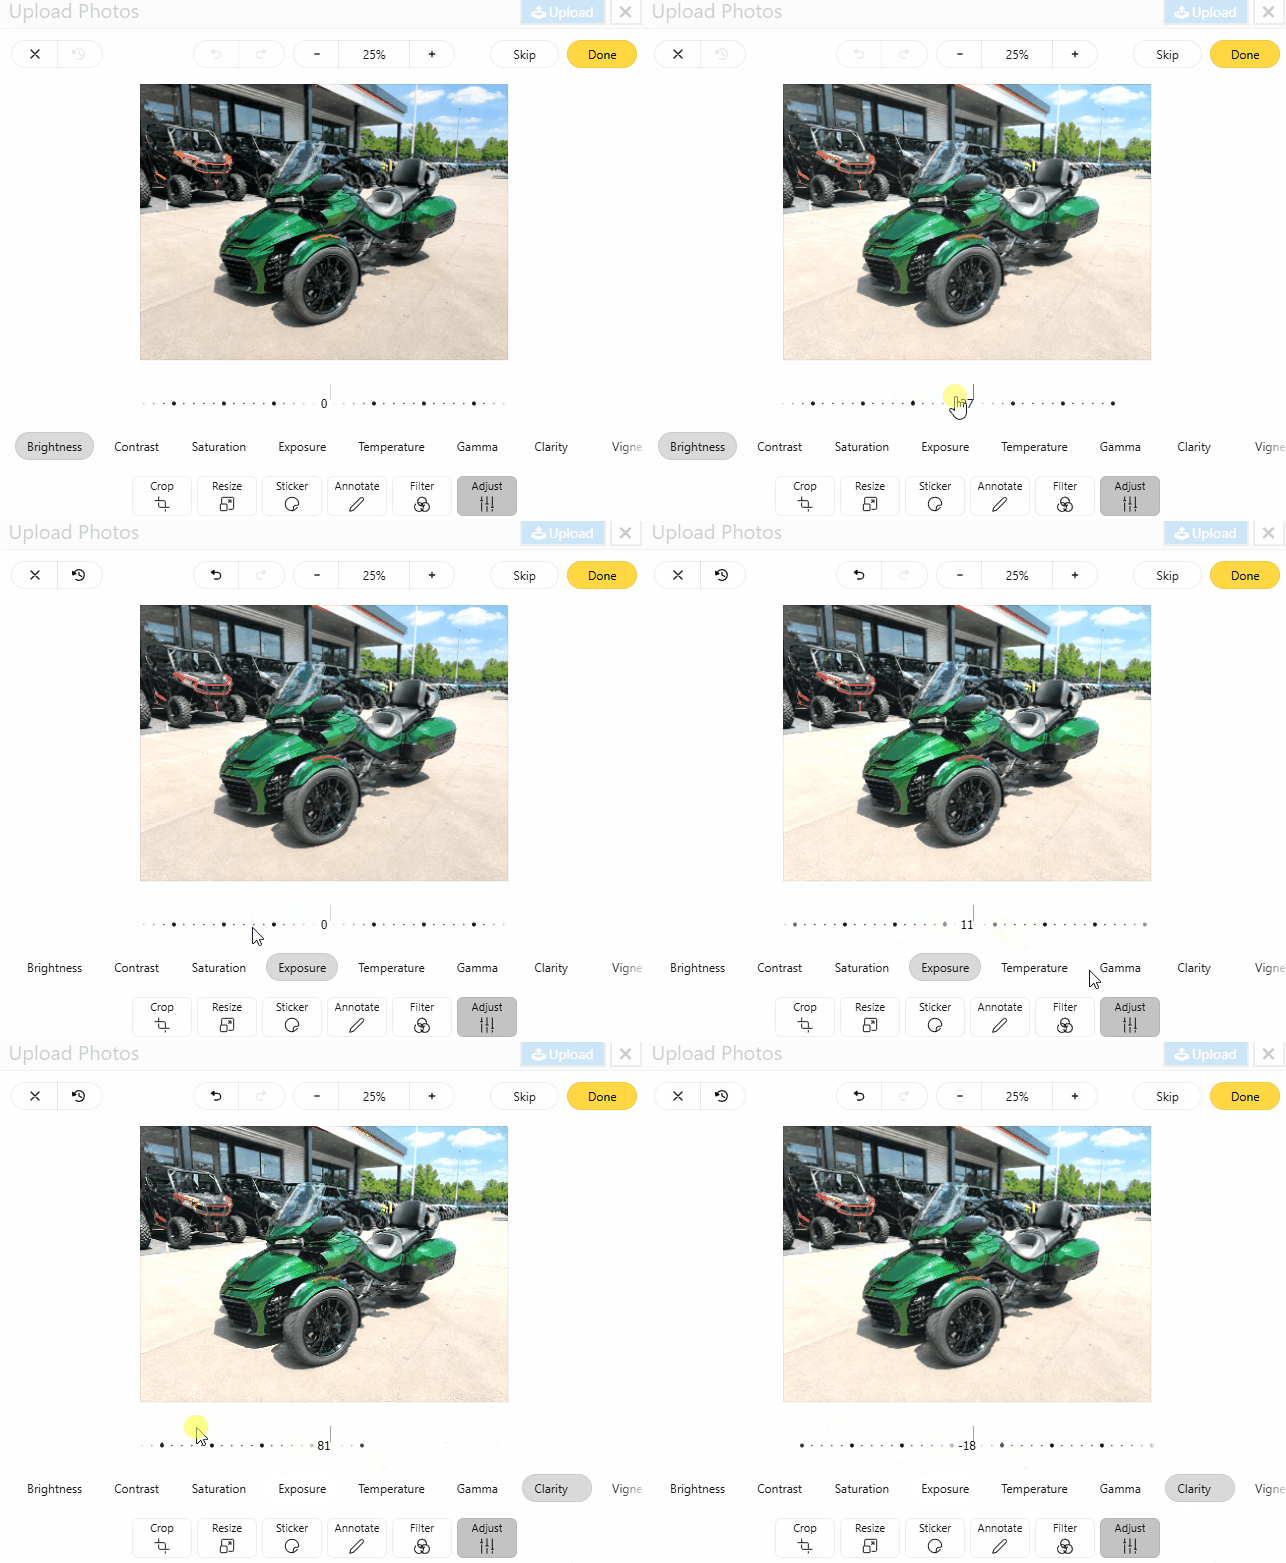
Tip: Small adjustments usually look more natural than heavy edits. Watch for lost detail in bright reflections and avoid oversharpening.