TABLE OF CONTENTS
This guide provides step-by-step instructions on how create your own online catalog and add products for purchase on your website.
Guided Tour
Step by Step
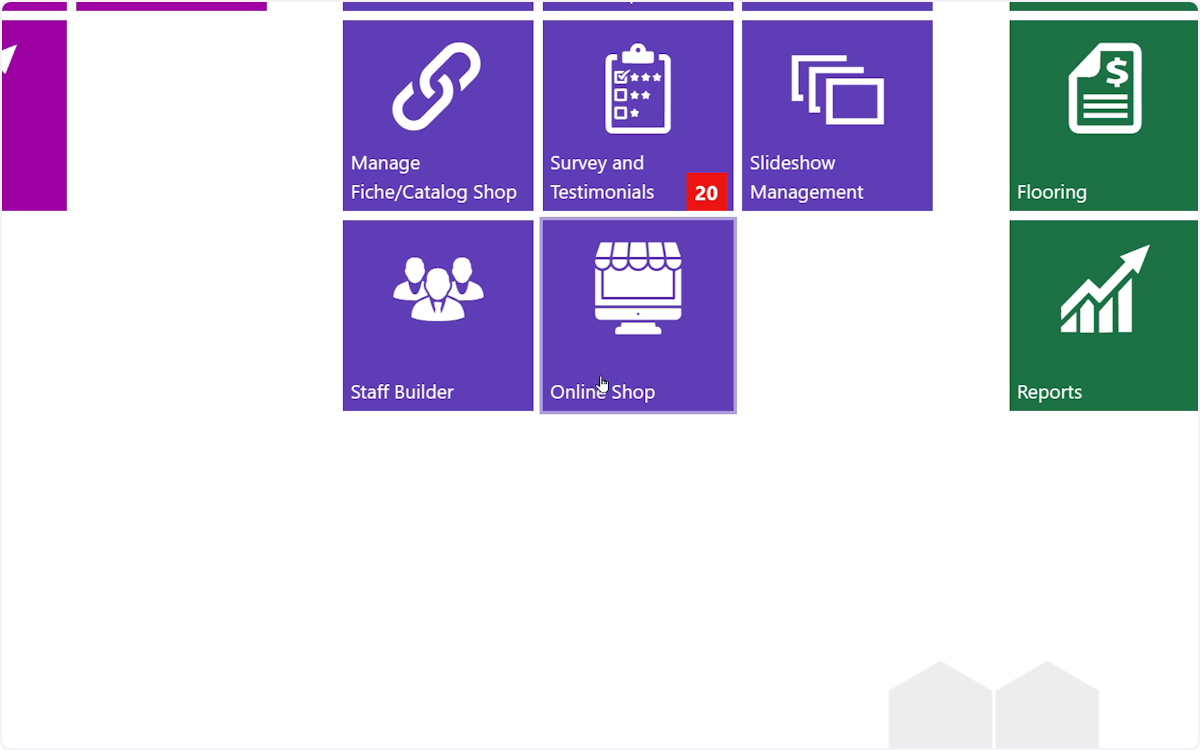
1. From the DX1 Dashboard, select the Online Shop tile.
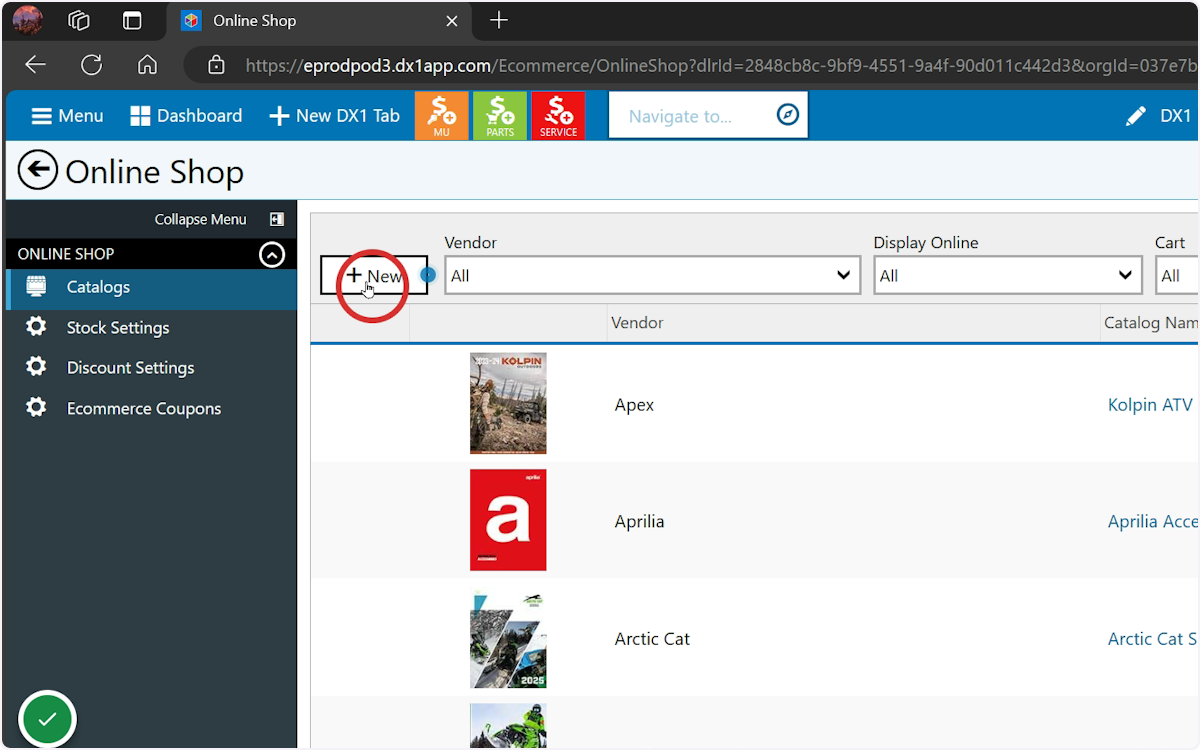
2. If you are creating products for the first time, you will need to create your custom catalog. Select +New to get started. *If you have already created a catalog, select it in the list and skip to step #13.
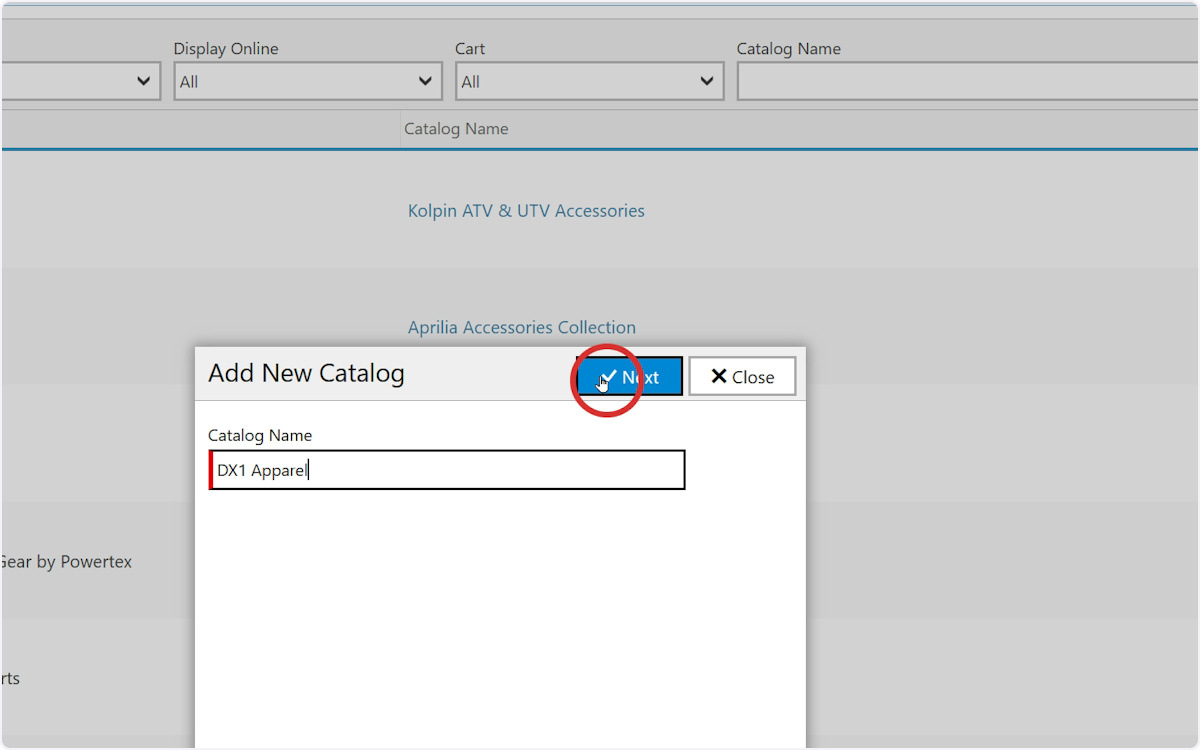
3. Enter a name for your catalog
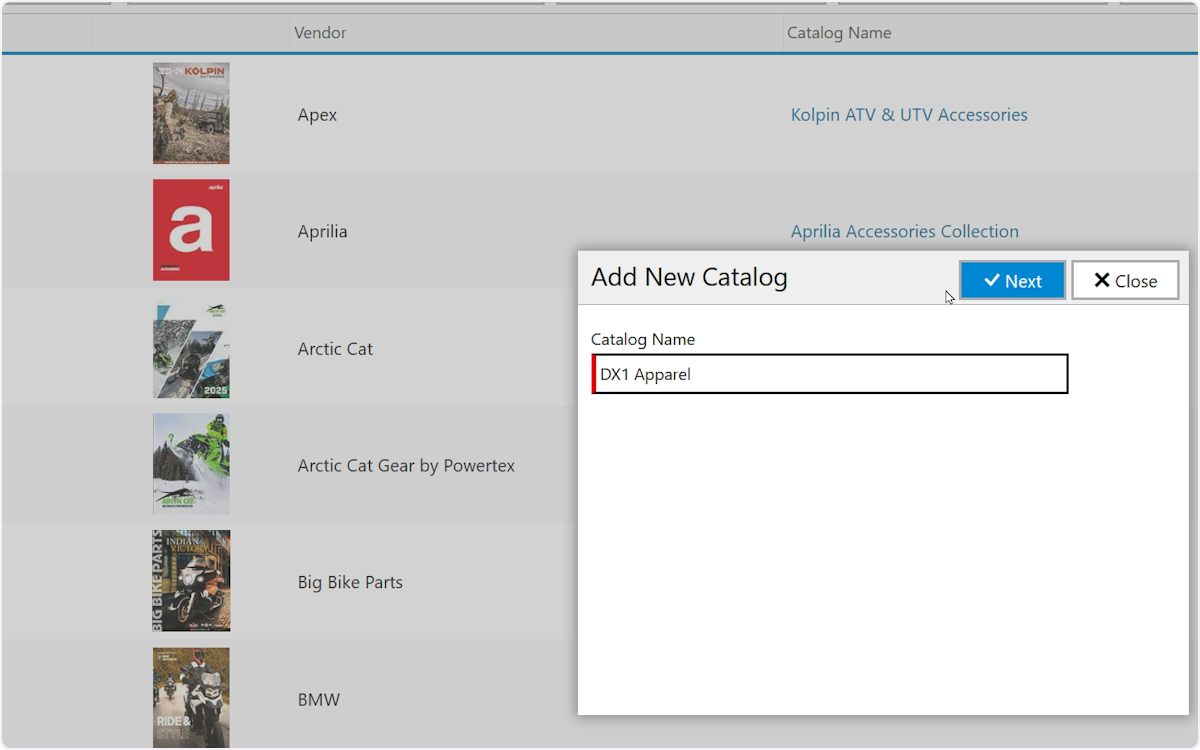
4. Select Next to continue.
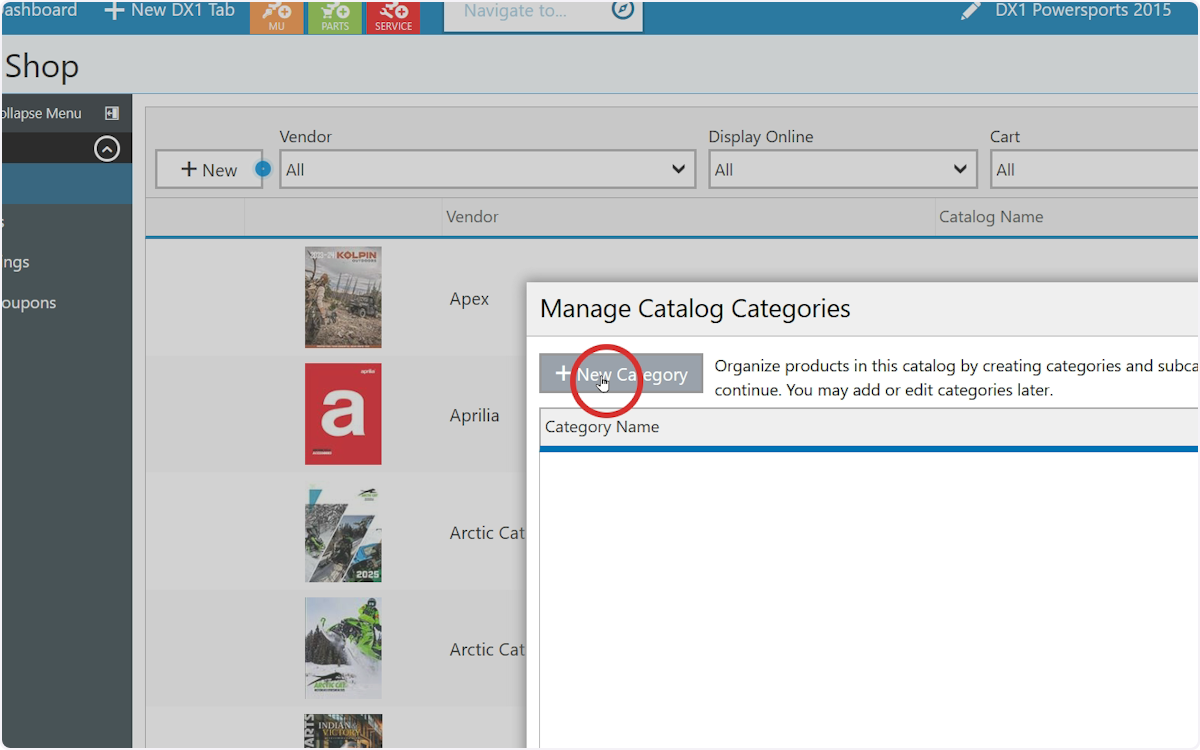
5. Products are organized within a catalog in categories. An apparel catalog might be organized by apparel type, eg T-Shirts, Hats, etc Create at least one catagory by selecting +New Category
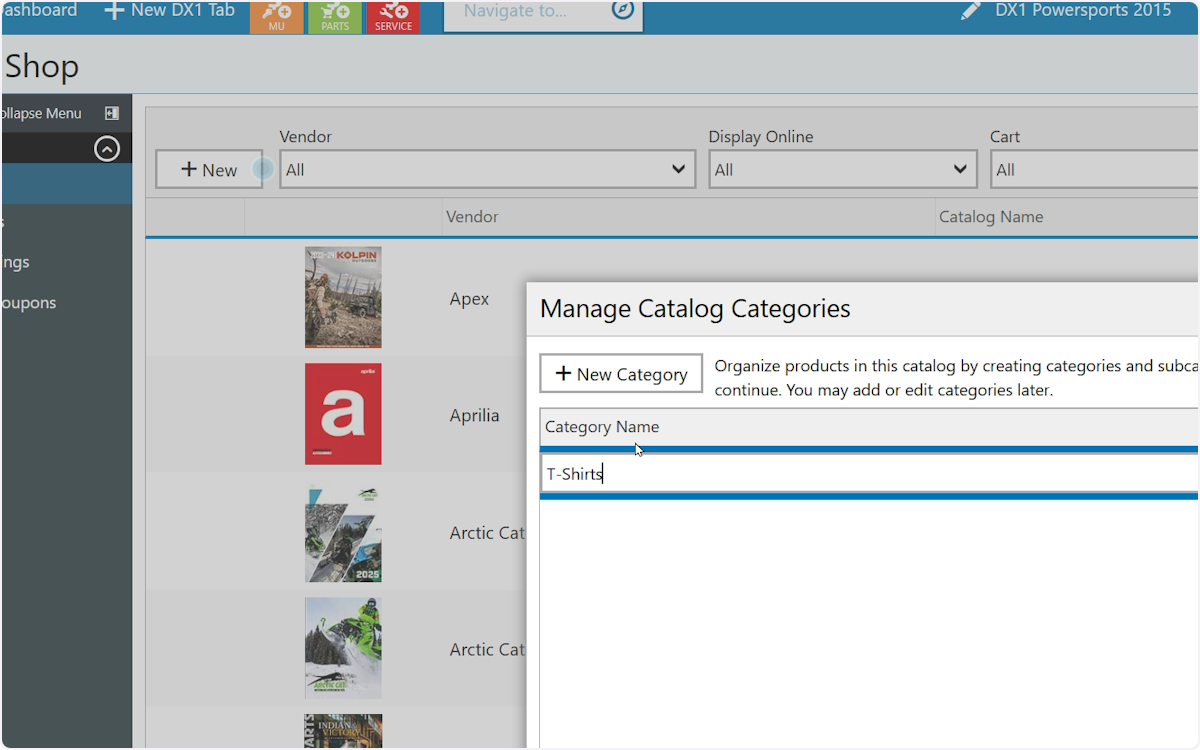
6. Enter a category name and hit the ENTER key
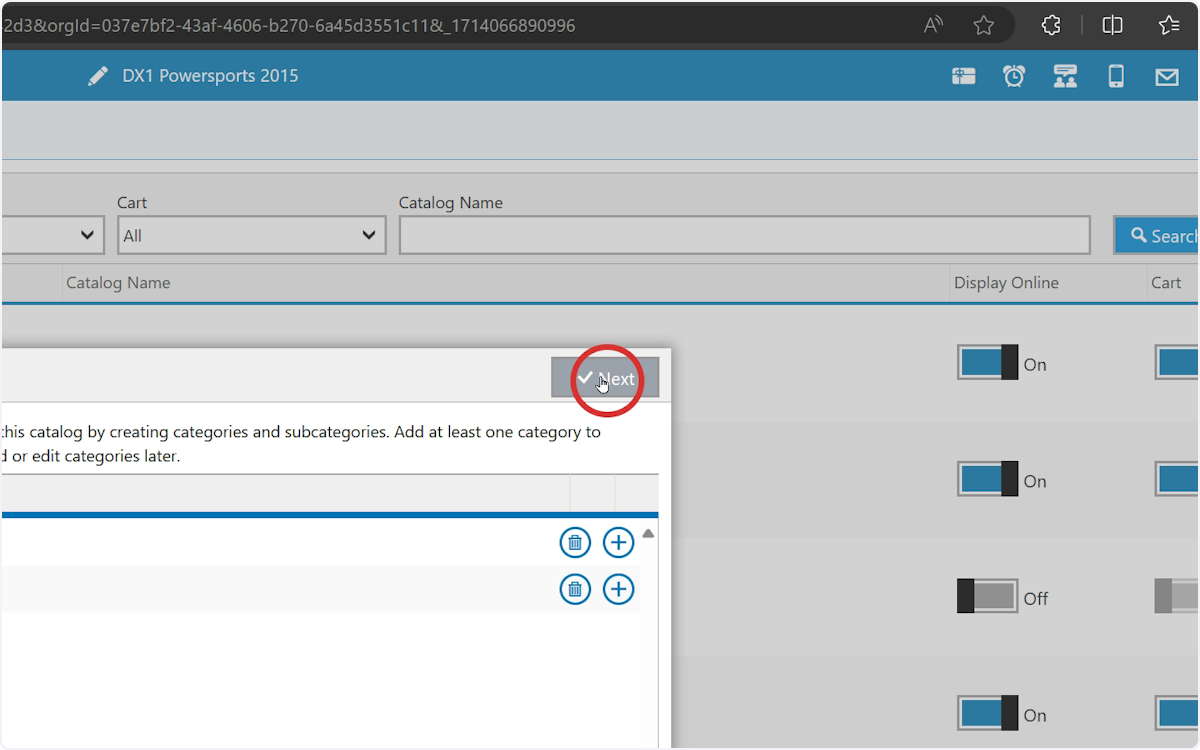
7. Add additional categories by repeating the previous 2 steps, or select Next to continue. You can always add more categories later.
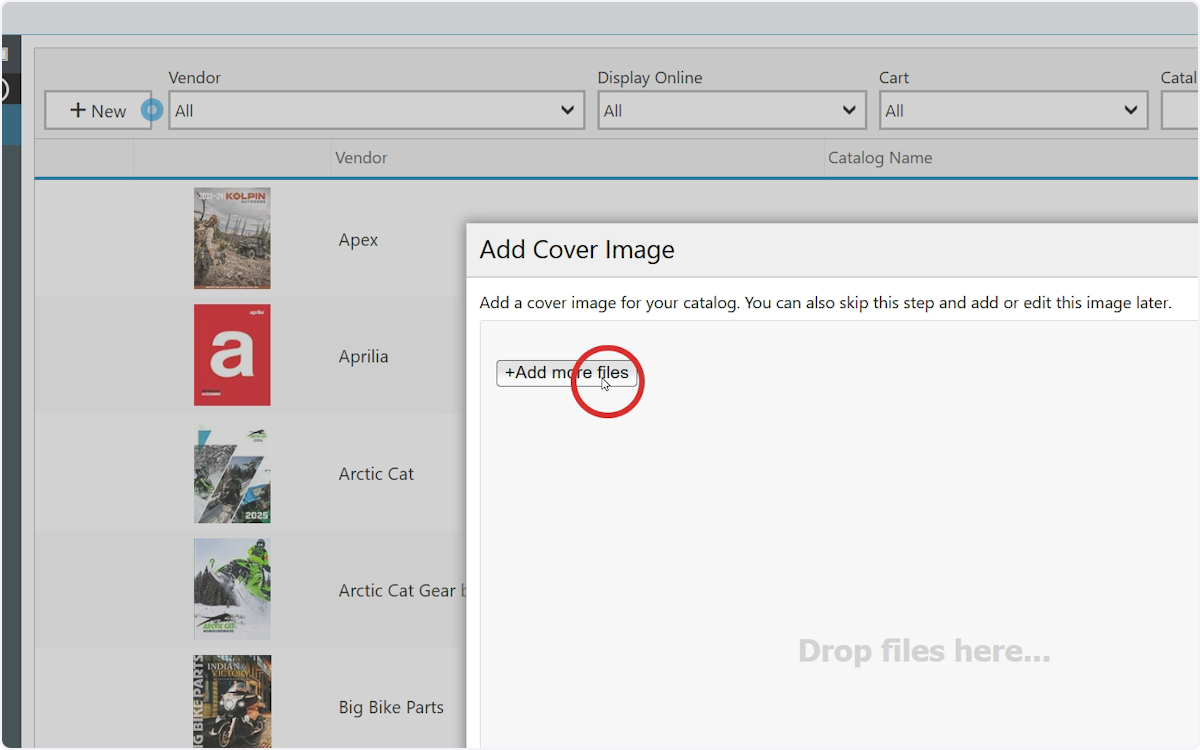
8. To add a cover image for your catalog, select +Add more files to locate your catalog image. *This step is optional and may be skipped by selecting XCancel
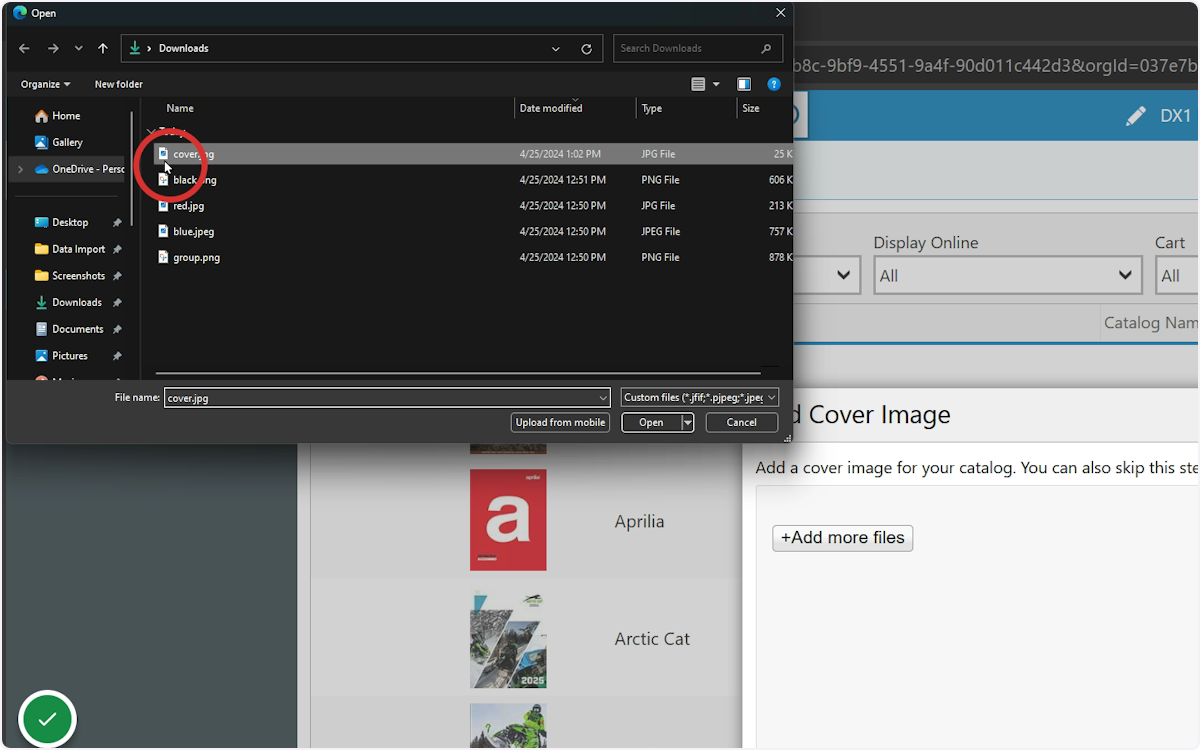
9. Locate your cover image on your local machine and select it.
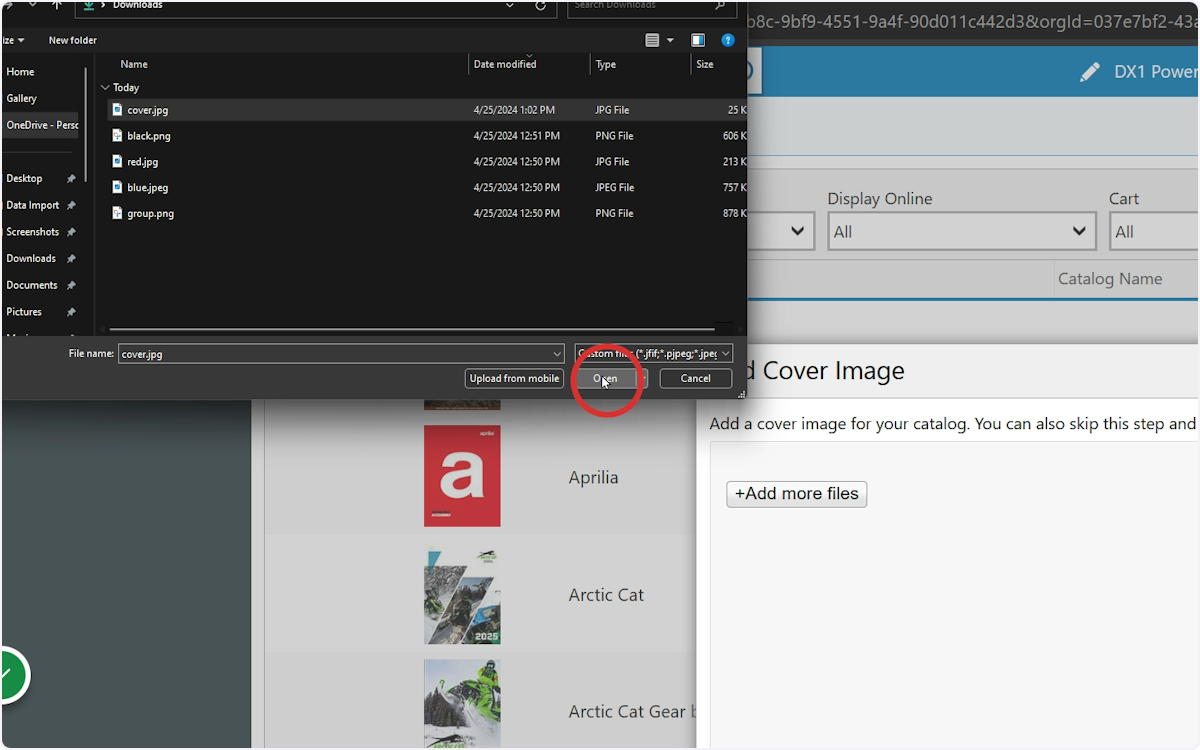
10. Select Open to continue.
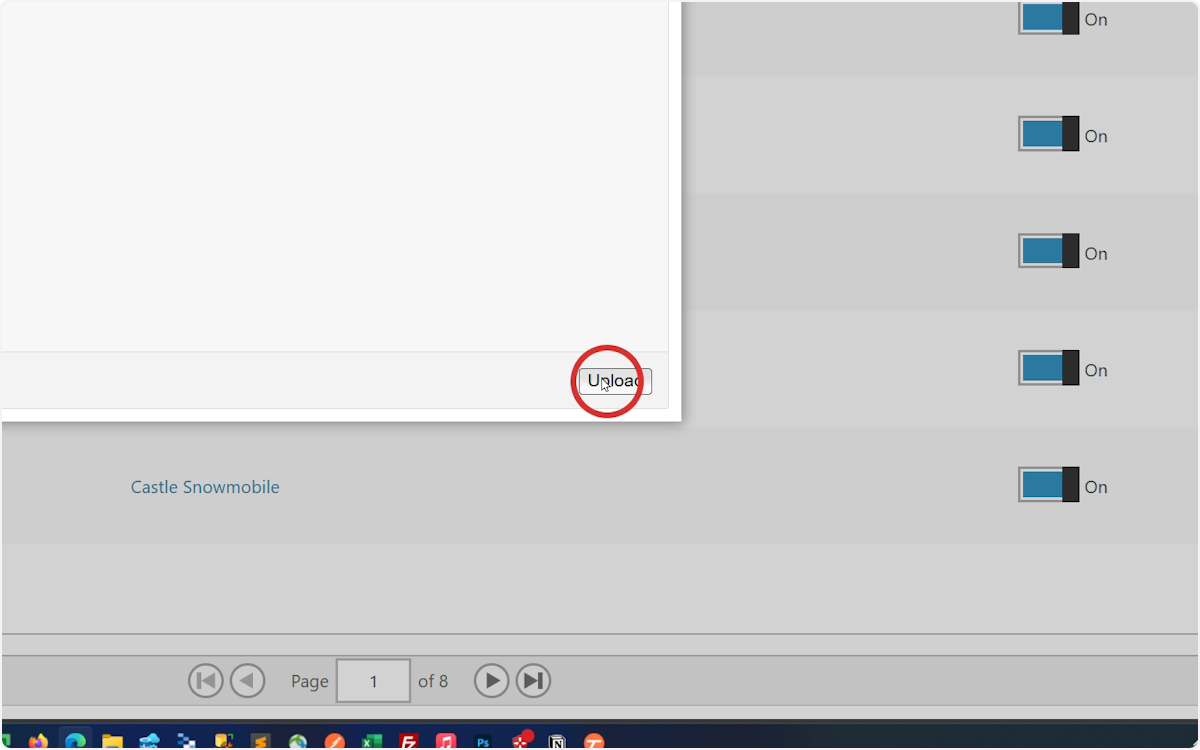
11. Select Upload to upload your selected image.
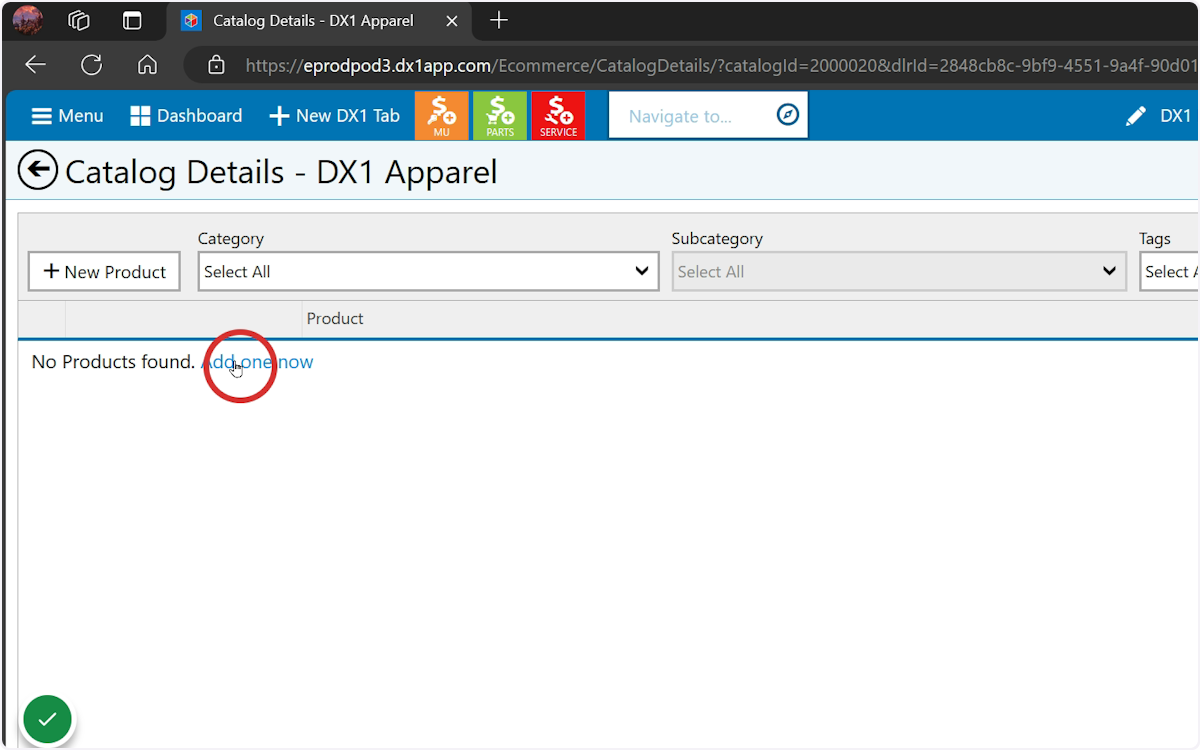
12. Select +New Product or 'Add one now 'to create your first product.
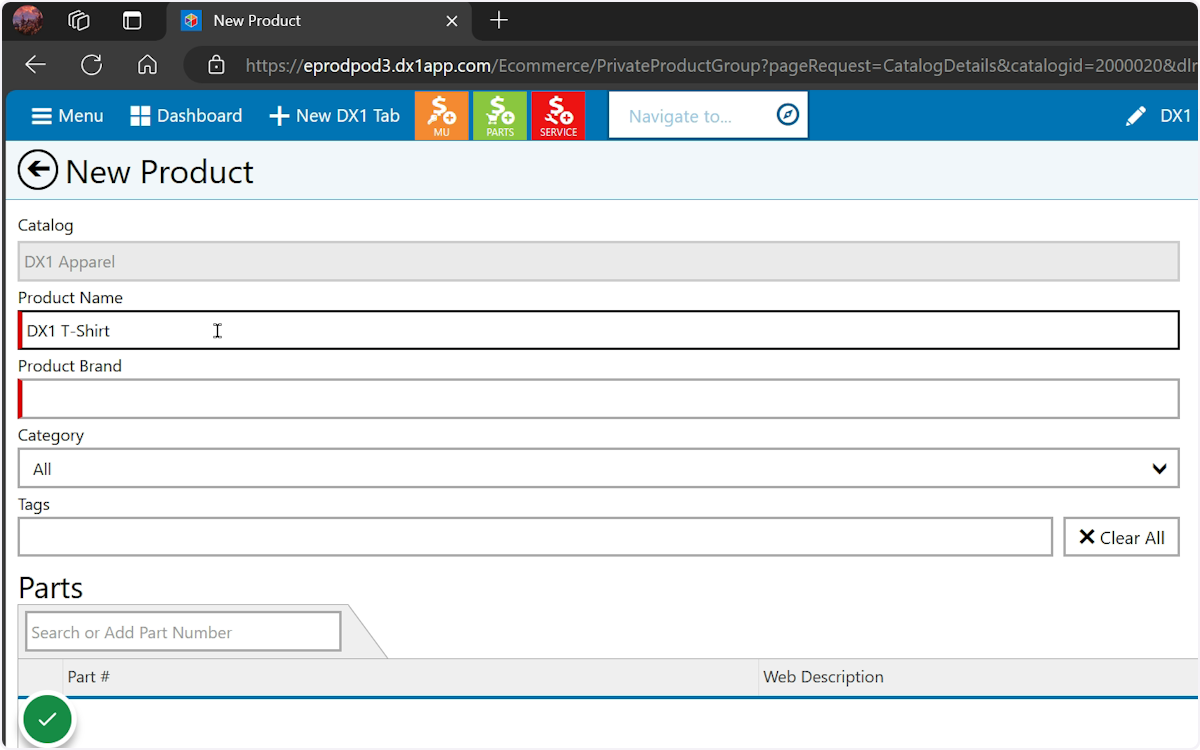
13. Enter a name for your product
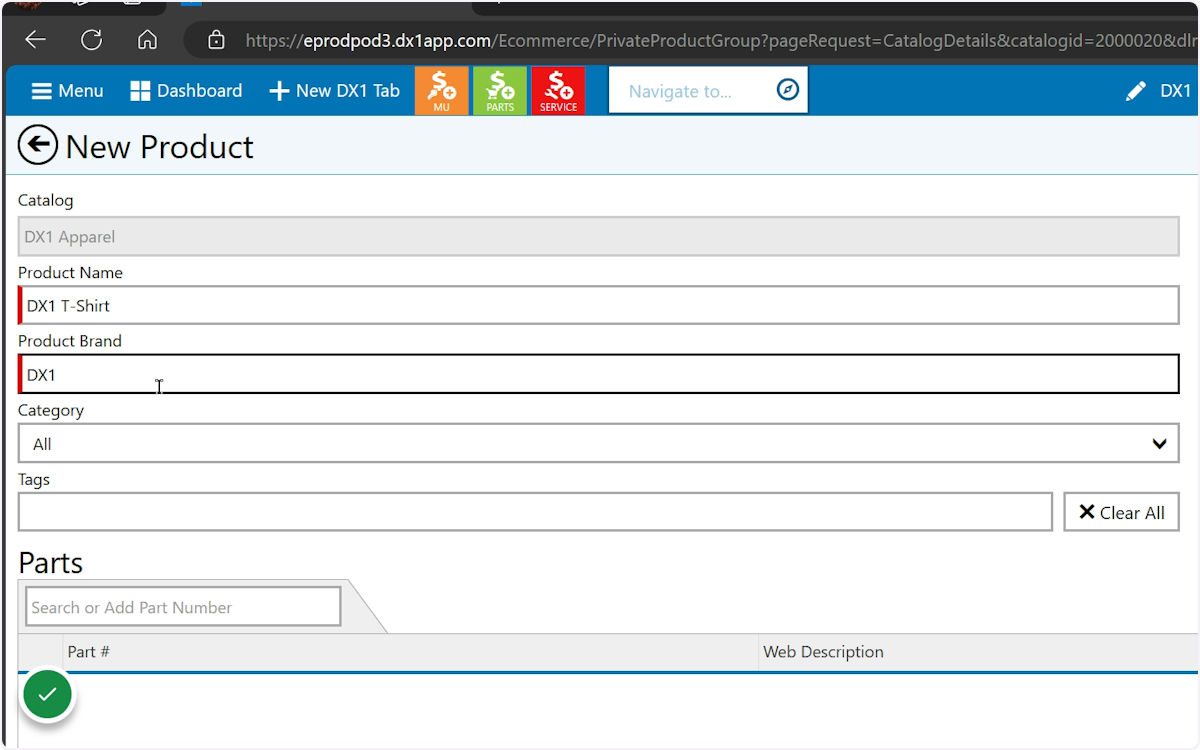
14. Enter the brand name for your product. You can select from the list of returned options or enter your own.
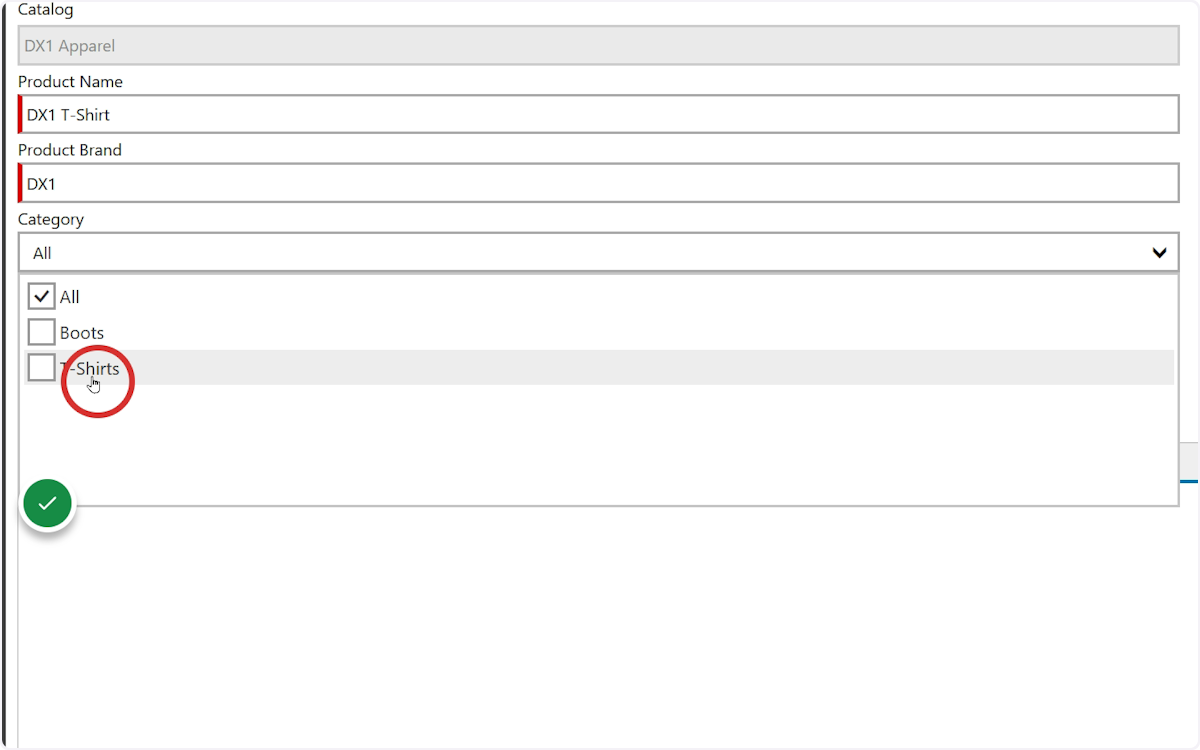
15. Choose the Category or Categories for your product (or use All to display the product in all categories)
16. Enter at least one Tag for your product. Tags are used for additional filtering and search functions. You can select from the list as you type or select [Add New] to create your own tag(s).
![Enter at least one Tag for your product. Tags are used for additional filtering and search functions. You can select from the list as you type or select [Add New] to create your own tag(s).](https://images.tango.us/workflows/5e7ef3d1-5603-403c-94e9-f1b5db029e96/steps/2fdfa7e7-a893-4c6b-954c-0d5dd01486f7/2d7760a5-86c1-4729-88ba-be07e1ef2f3d.jpg?fm=png&q=100&crop=focalpoint&fit=crop&fp-x=0.0381&fp-y=0.3940&fp-z=2.0000&w=1200&border=2%2CF4F2F7&border-radius=8%2C8%2C8%2C8&border-radius-inner=8%2C8%2C8%2C8)
17. It's time to add part numbers or SKUs for your product. DX1 will search for existing parts as you type. Select a part from the dropdown or select [Add New] to add a new part number.
![It's time to add part numbers or SKUs for your product. DX1 will search for existing parts as you type. Select a part from the dropdown or select [Add New] to add a new part number.](https://images.tango.us/workflows/5e7ef3d1-5603-403c-94e9-f1b5db029e96/steps/51f6a8fd-10b5-4b4c-896e-c607d8b270f6/6ac7c57b-dd4d-401a-8e8c-0685c8a9377e.jpg?fm=png&q=100&crop=focalpoint&fit=crop&fp-x=0.0667&fp-y=0.4525&fp-z=2.0000&w=1200&border=2%2CF4F2F7&border-radius=8%2C8%2C8%2C8&border-radius-inner=8%2C8%2C8%2C8)
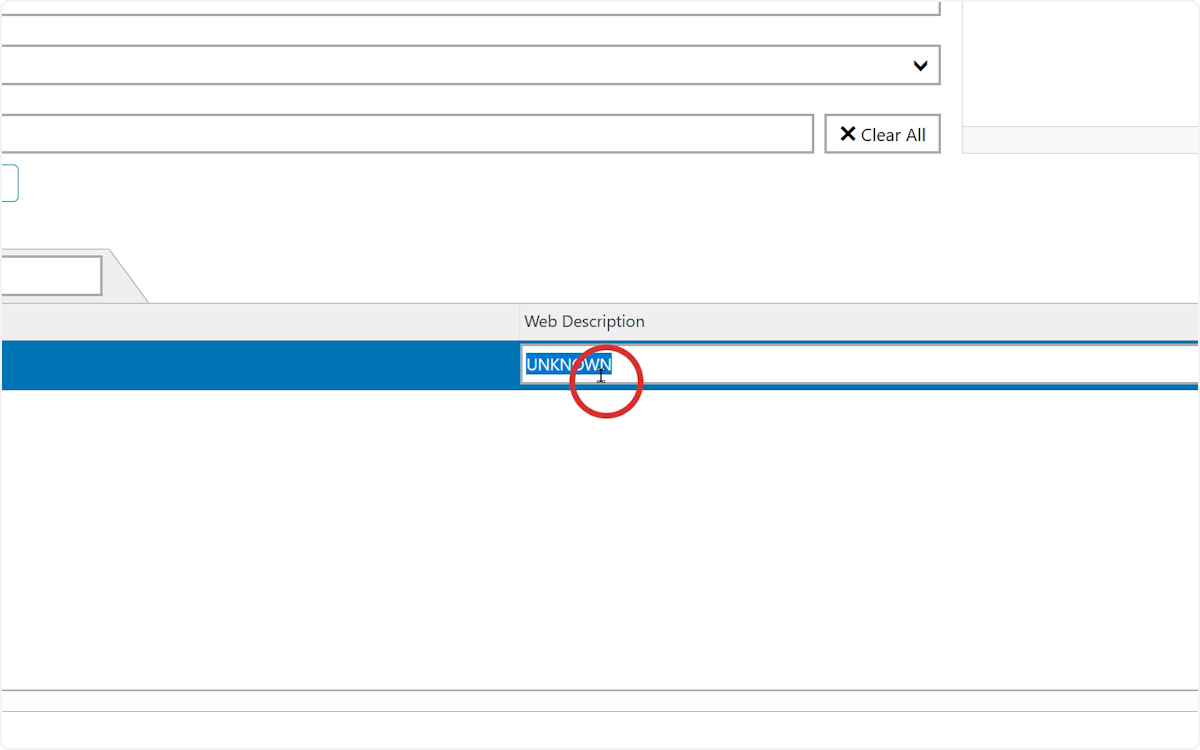
18. Enter a Web Description for your part. This could be 'Red - Medium' for apparel or "'12" length" for a chain, for example.
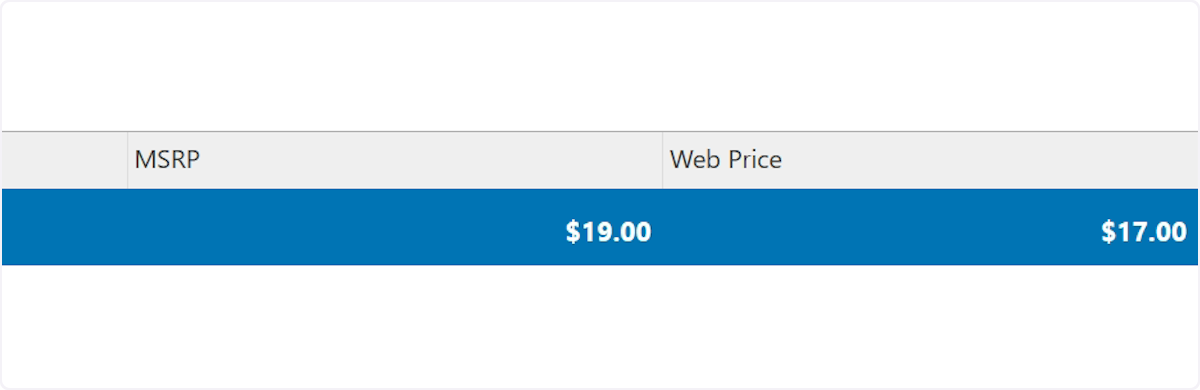
19. Enter the MSRP (if not already populated) and Web Price for the part number.
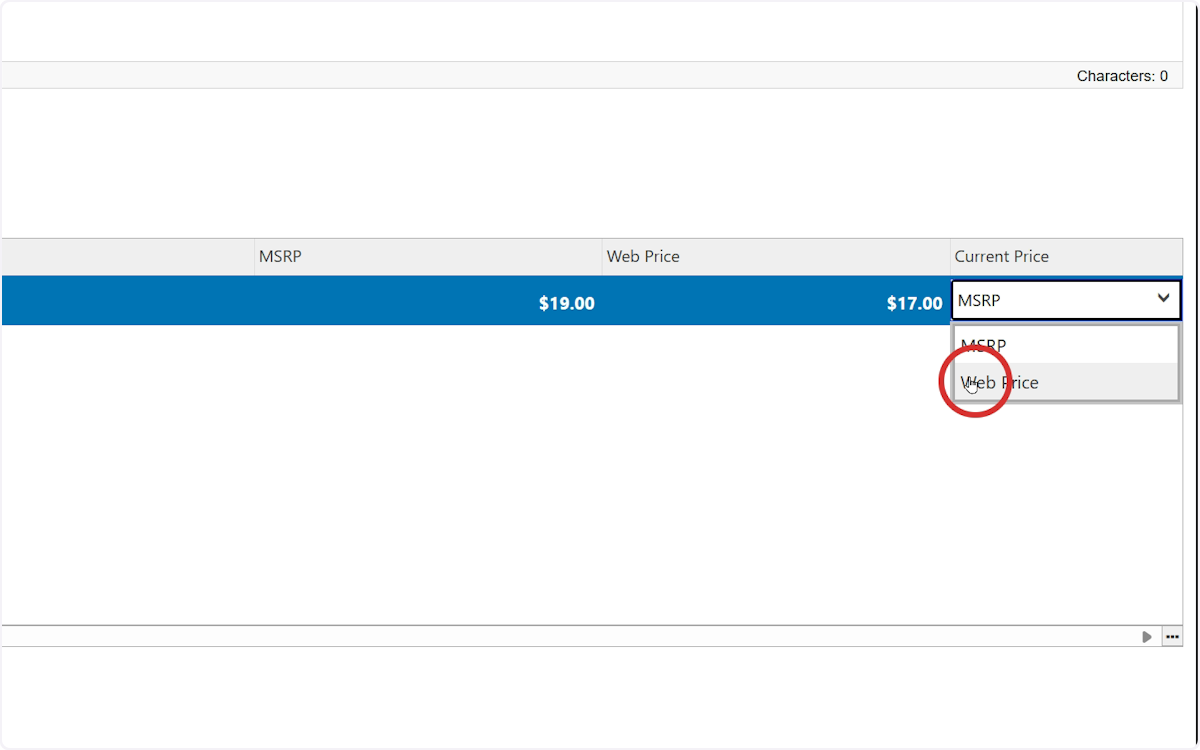
20. Choose which price should be shown on the website, MSRP or Web Price.
21. Repeat the process until you have added all variants / part numbers / SKUs for the product, eg all sizes, colors, lengths, etc.

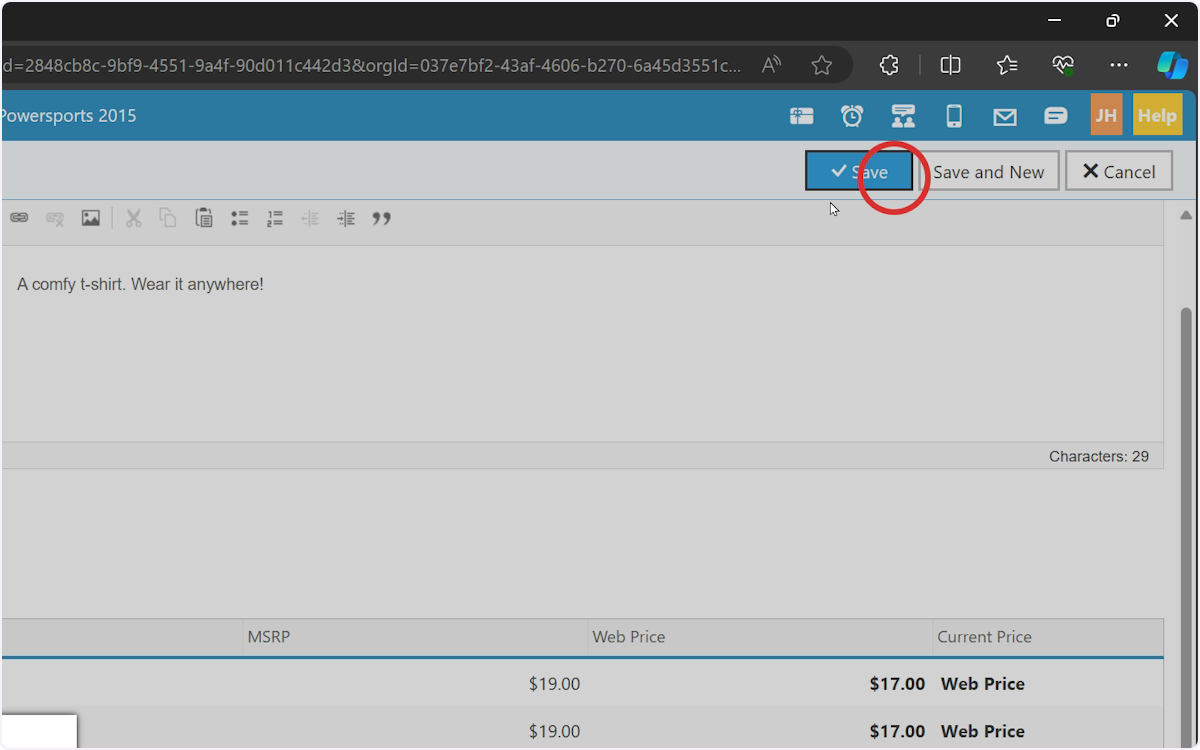
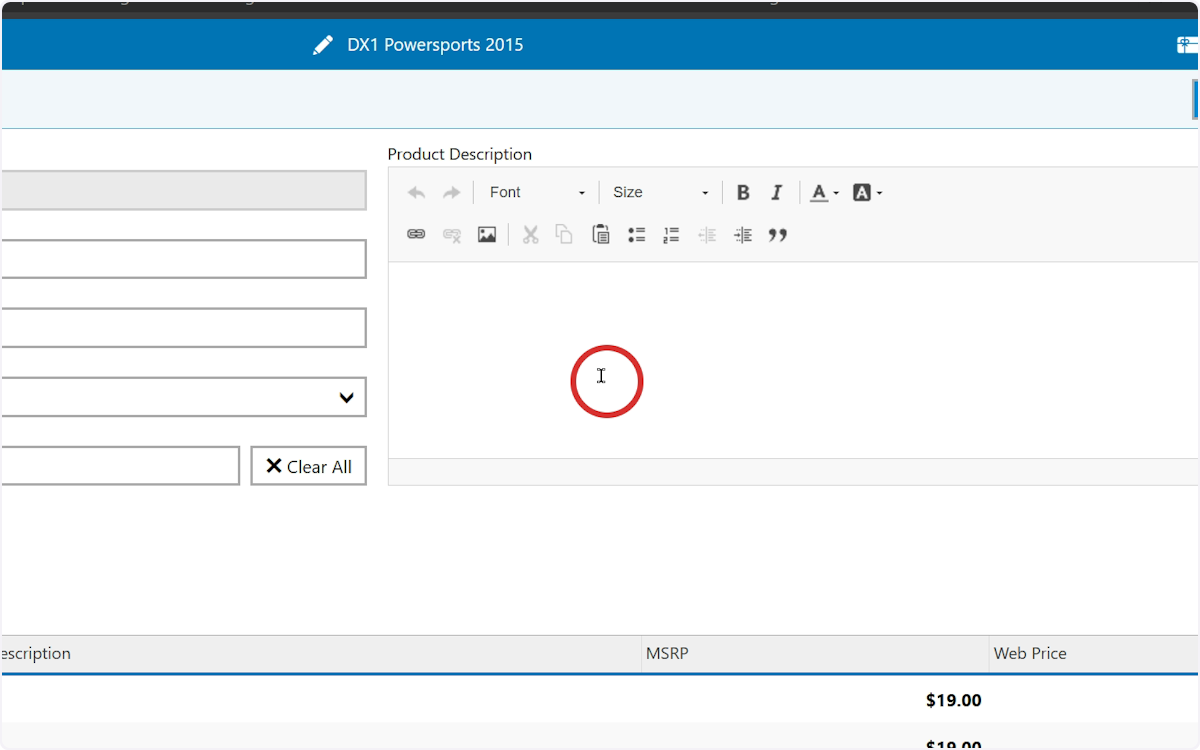
22. Enter a description (if desired) in the Product Description field.
23. Click here
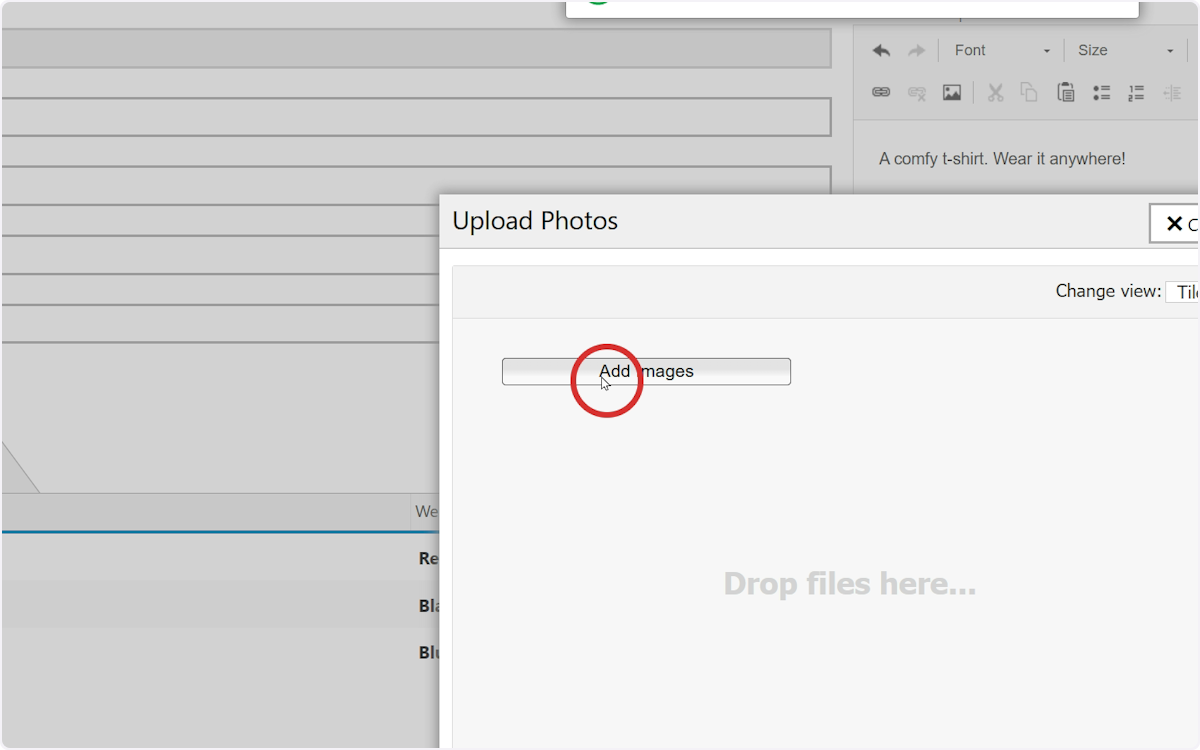
24. Select Add Images to open the file dialog
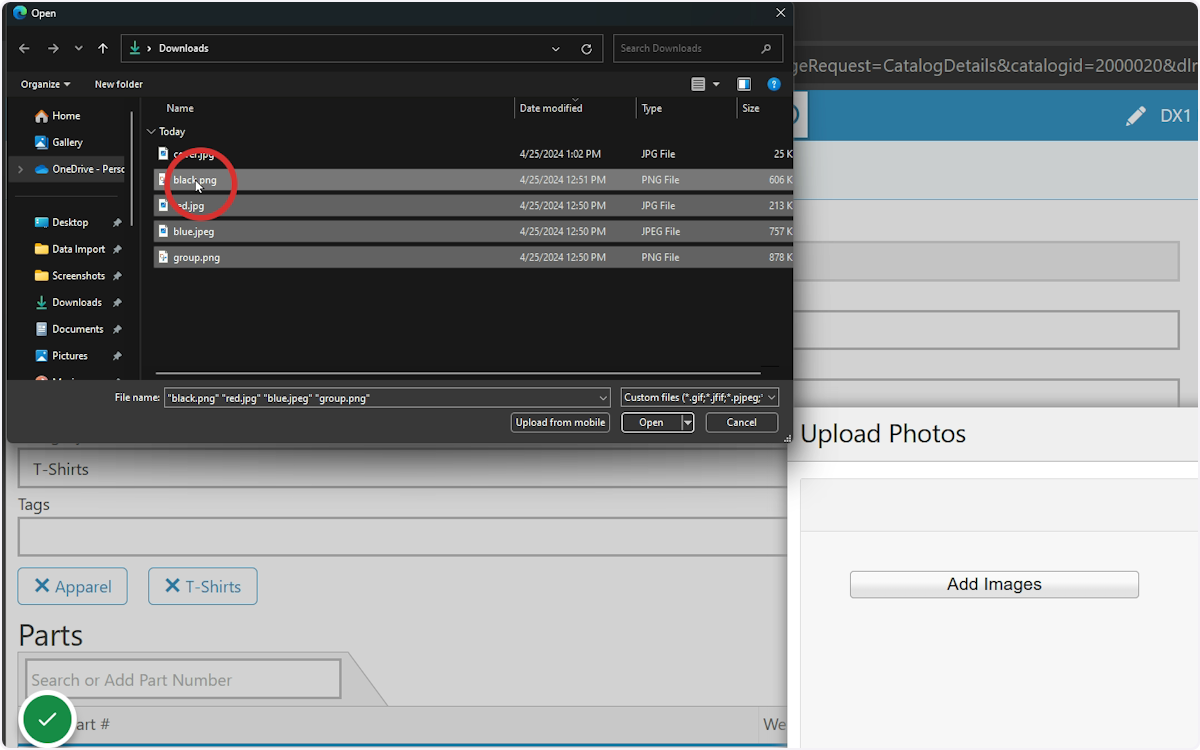
25. Locate the images on your local machine and select one (or more!) for upload
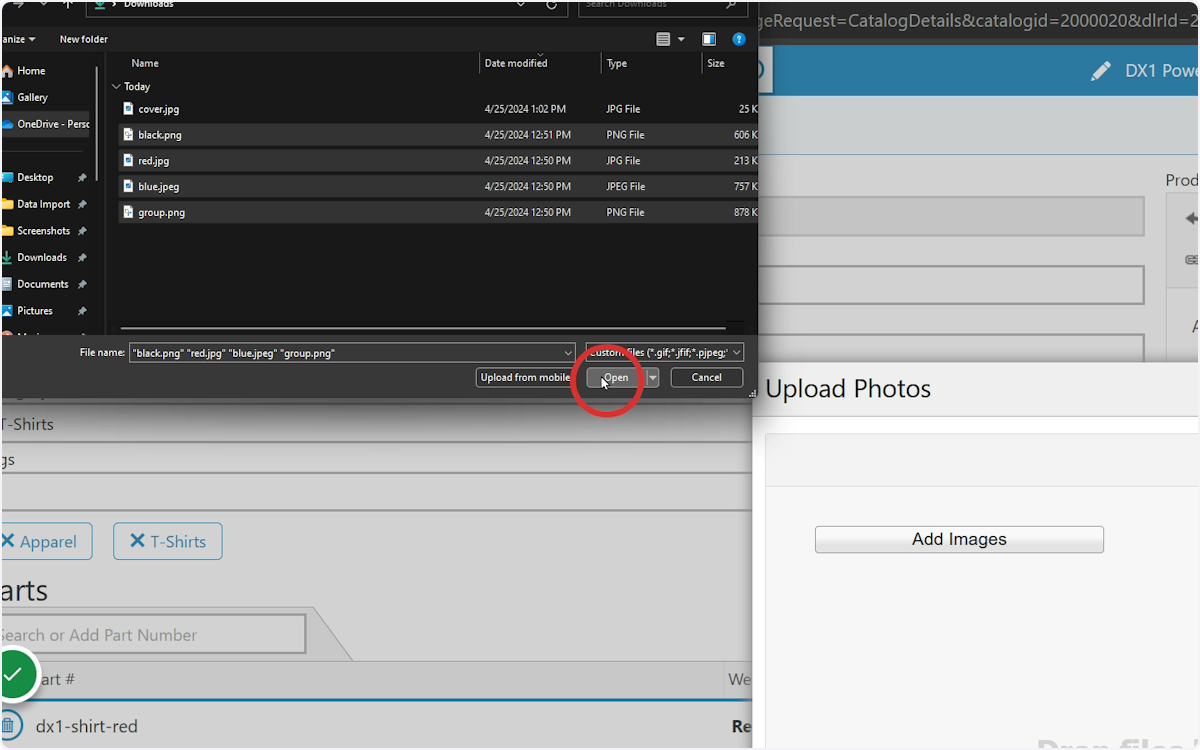
26. Select Open
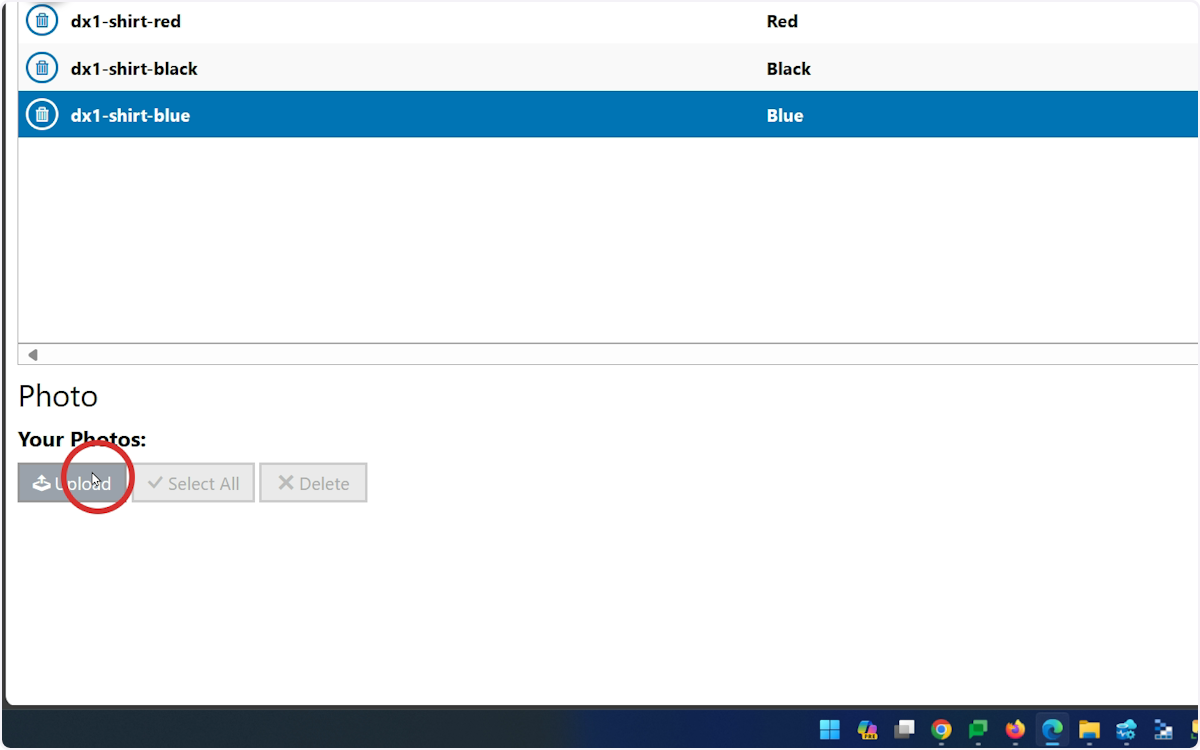
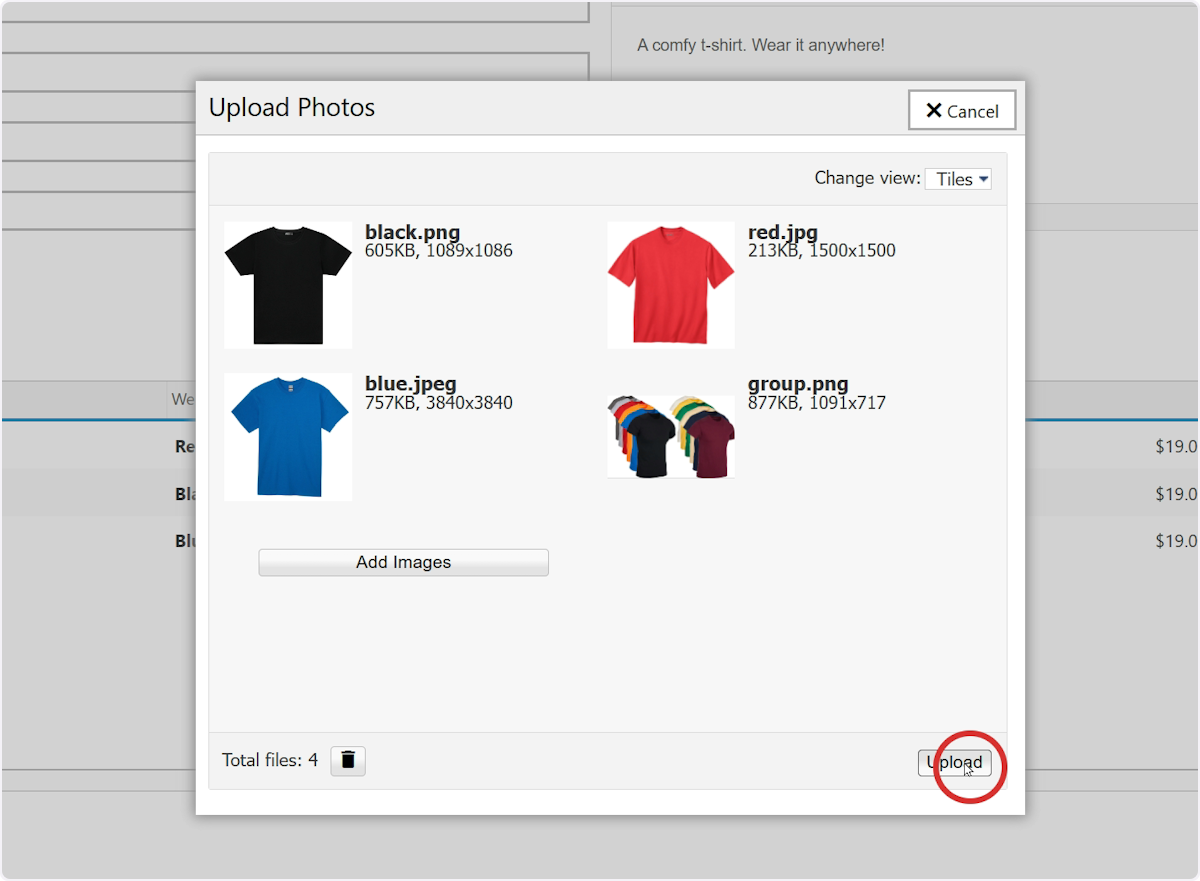
27. Your images will be displayed. Select Upload to continue.
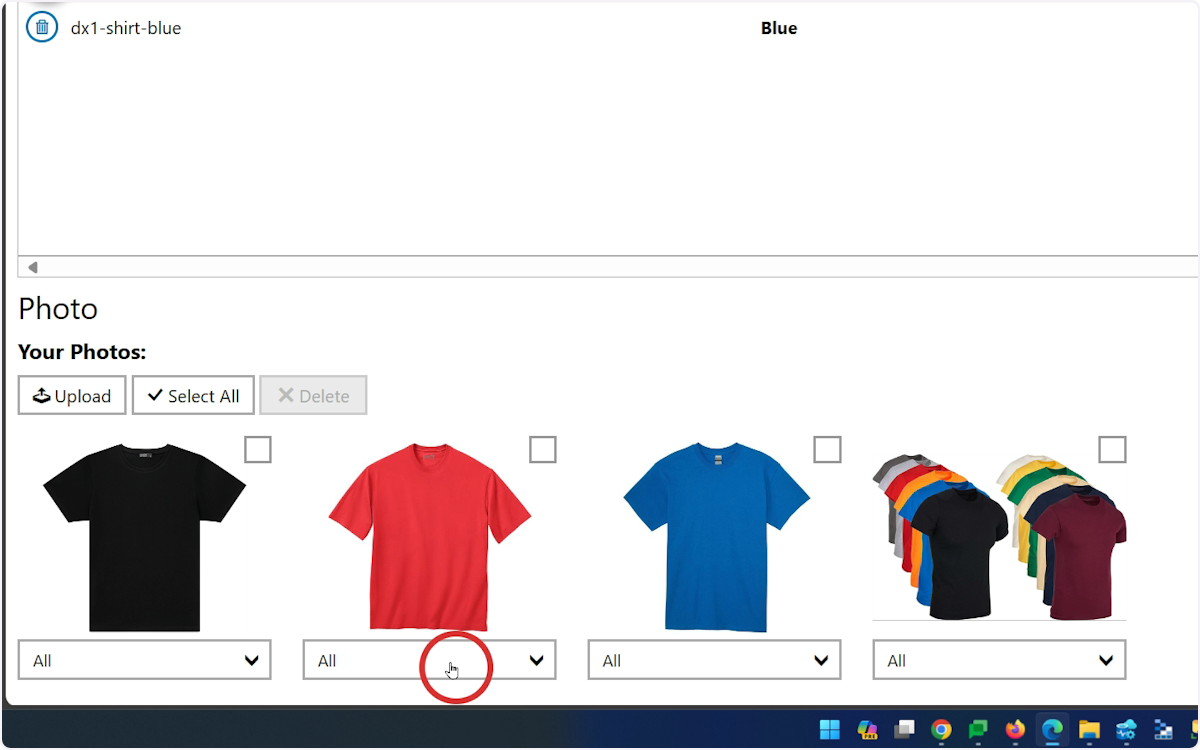
28. If any images apply only to a selection of the part numbers / SKUs for the product, you can assign them be selecting the dropdown below the image...
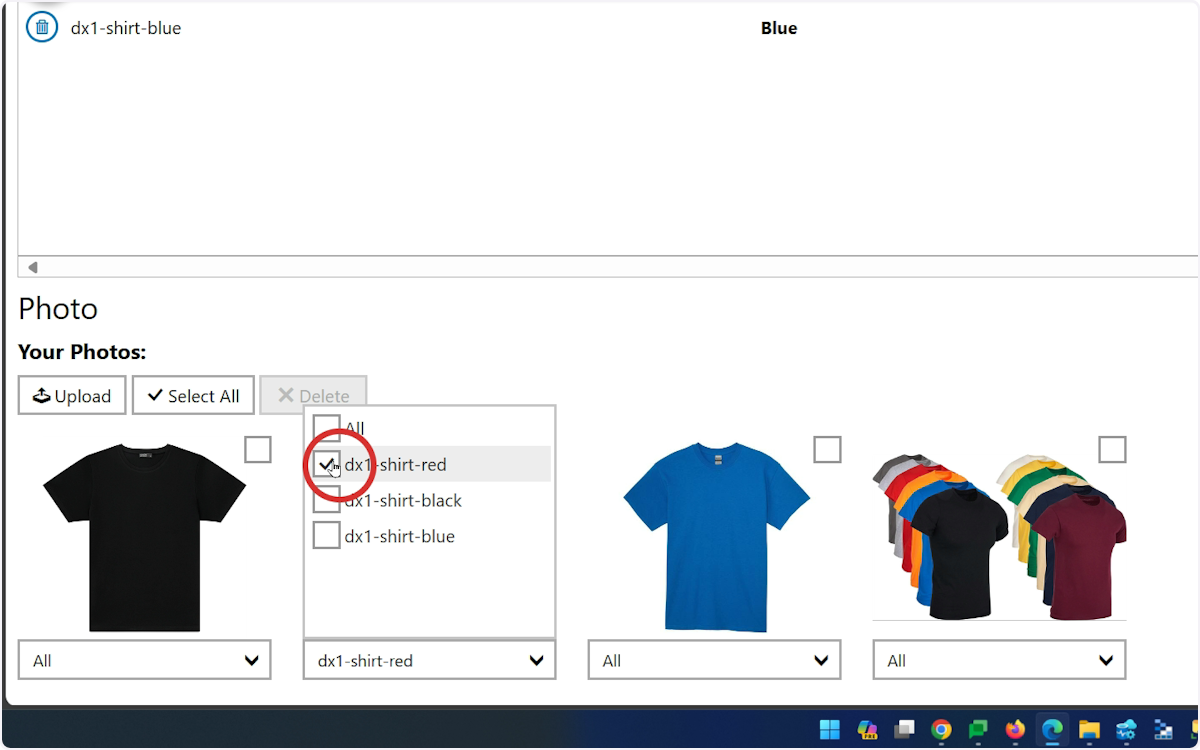
29. ...and assigning the image to the appropriate part number / SKU. (All is selected by default)
30. Select Save. Congratulations, you've added your first product!